Now that you have created a new form on your website, you want to make sure you test it for any errors or mistakes before you publish it. It’s never a good feeling to realize that a form hasn’t been working as intended, especially if you’re counting on it to accept registrations, payments or important supporter information.
FEATURE AVAILABILITY
The Form Builder is available for Grow and Amplify plan websites. Change your plan in the Account & Billing section of your website Dashboard.
Ensure the Form is Embedded on a Page
Once you’ve built out a form and added to a page, you’ll want to preview it before making it live on your website.
- Log into your site and go to the page where you embedded your new form.
- Click on the “Preview” button. A new window will open to show you how the form will look when it’s published.
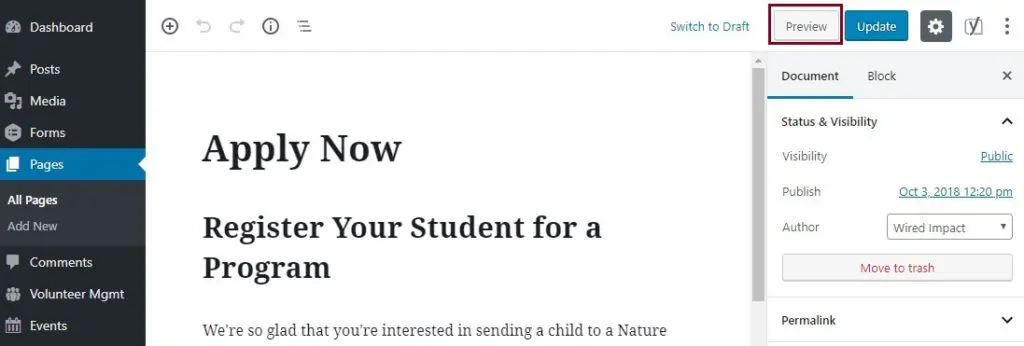
- On the preview page, ensure that your new form shows up as you’d expect and is in the right place on the page.
- If everything looks good, you can continue to test the form for errors.
- If your form does not appear, follow the steps below or refer to our basic form building steps.
- Return to the page where you’d like to use the form.
- Select the spot where you would like the form to appear within the block editor on that page.
- Click the “Add Block” button and add a new “Forms” block.
- Click on the newly added block and select the form you want to embed.
- In the block settings on the right hand side of the screen, be sure to turn off the “Form Title” and “Form Description” settings.
- Preview the page again to see if it shows up as you’d expect now.
Test for Errors
Now that you know your form is appearing correctly, the next step is to determine if the form will show error messages to your users when necessary. For example, when someone forgets to complete a required field.
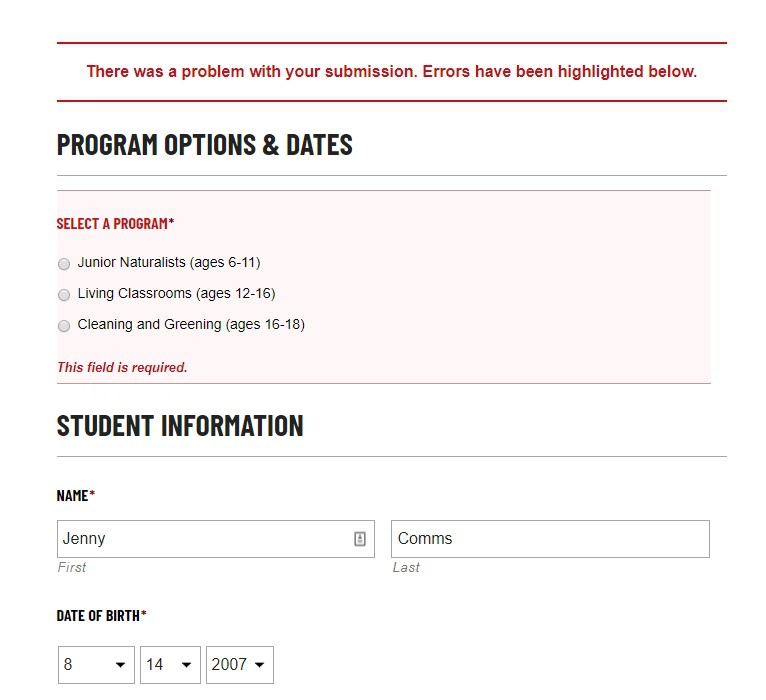
- On the preview page, test your form by filling out some of the form fields. Purposely leave some required fields blank for the sake of the test. Required fields should be marked with an asterisk on the form.
- Submit the test form.
- Make sure that an error message appears at the top of the page indicating that you did not fill out the required fields. The blank required fields should also be highlighted in red.
Test Conditional Questions
For this test of your new form, you’ll want to determine if any conditional questions you’ve used display properly. Conditional questions are those where a follow-up question appears depending on the answer to the first question. For example, if someone answers “yes” to a question about whether or not you should contact them, another field would appear to ask for their phone number.
If your form doesn’t use conditional questions, you can skip this test.
- On the preview page, choose the answer that prompts an additional question.
- If the conditional questions do not show up, or if they show up in the wrong place, go back to your form editor and update the conditional logic field.
The conditional field is working appropriately because an additional question appears when each program is selected.
Test the Confirmation Message or Thank You Page
When someone successfully submits the form, they should see a confirmation message or be sent to a Thank You page depending on your form settings.
- On the preview page, test the form by filling out all of the required fields.
- Click submit.
- Once the form is submitted, make sure that the appropriate confirmation statement or Thank You page appears.
- If this is not what you would expect, see how to update the confirmation.
Test Notification Emails
You have the option to send notification emails when a form is submitted. A notification email may be sent to the person who submits the form so that they have a record of the information they shared with you, as well as to members of your team to fill them in on the new submission. Make sure to test these emails so that you know what people will be receiving.
- On the preview page, test the form again and make sure to include your email address so that you receive the email.
- Once you have submitted the form, check the email inbox that you included for administrative emails and the inbox of the email you entered into your test submission of the form.
- There should be an email in each confirming your form submission, including a copy of your answers to the form questions.
- If you did not receive any emails, follow the steps to set up notifications.
Check Form Entries
You’re almost done! Before publishing your new form, check to see that your test form entries are showing up correctly.
Hover over the Forms button in the left sidebar and click the Entries option that shows up in the menu.
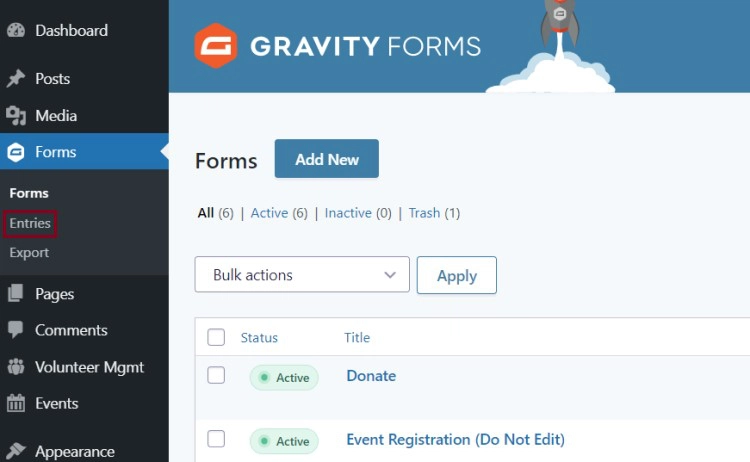
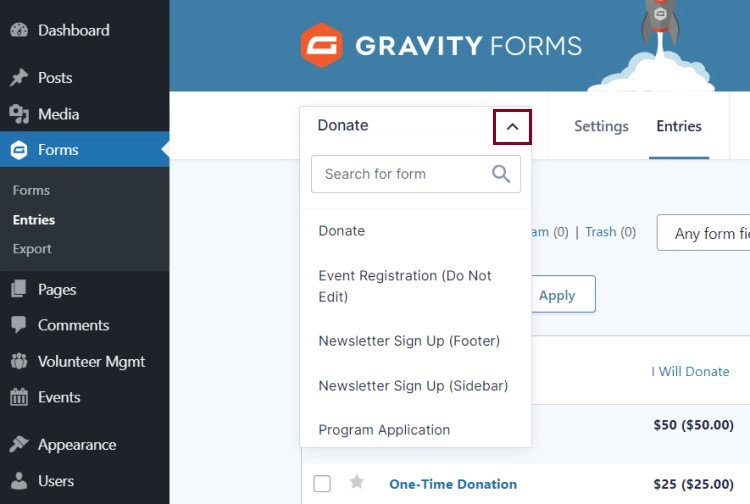
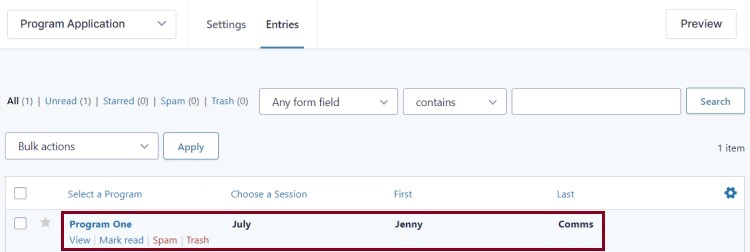
You’ll be taken to a page of form entries. In the upper left-hand corner is the title of the form. To review the entries for a specific form, click the drop-down button next to the title and select the form you tested.
Your successful test form submission should show up as an entry.
Test Third-Party Integrations
If you set up any third-party integrations for your form, check to ensure that they are working properly. Common third-party integrations include email marketing platforms like Mailchimp, payment processing tools like Stripe, and CRM software such as Salesforce.
To set up these integrations up, learn how to connect your payment processor or email service to a form.
General Process
- Check to see if you have any active feeds for integration. The settings for third-party integrations appear in the left sidebar within the form’s settings.

- Submit a test form. When the form is submitted, the information included will be passed through any third party tools that are integrated into your form.
- Log into the third-party tool and make sure all the information has been sent correctly.
- Test each active feed by submitting the form with various answers. There can be multiple active feeds under one integration.
- For example, with a Mailchimp integration, you may have one active feed set up to send emails to donors and another active feed set up to send emails to volunteers. To test these, you would need to submit the form as a donor and as a volunteer.
- Do any cleanup such as refunding payments, removing emails from Mailchimp, or anything else that should be removed since this form was only submitted for testing purposes.
Example: Testing a Form Integrated with Stripe
Below we have demonstrated the process of testing a third-party integration in a form. In our example, the form integrates with Stripe, a common payment processor. The following steps outline the process to properly test this hypothetical form.
- Click on Stripe to check the integration settings.
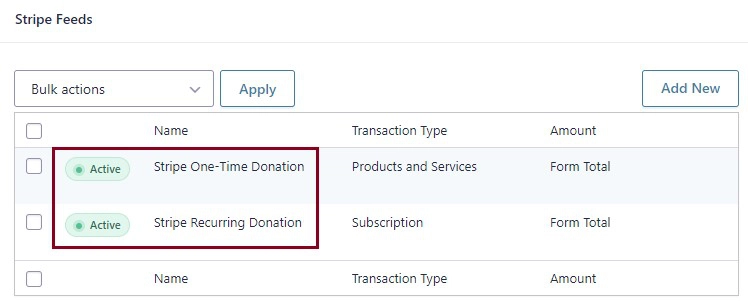
- In the Stripe settings, you see two active feeds indicated by the green buttons. One of the Stripe feeds processes one-time donations, and the other processes recurring donations.
- To ensure that a form payment went through, log in to your nonprofit’s Stripe account and check if a new payment appeared after you tested the form.
- Is the amount correct?
- Is the donor’s personal information, such as their name, email and address, correct?
- Make sure any information you expected to pass through is showing correctly in Stripe.
- Because there are multiple feeds connected to Stripe, make sure to test the form in every way possible to ensure that each feed is working properly.
- In the Stripe settings above, there are two feeds. One Stripe feed is solely used to process one-time payments made through the form. The other Stripe feed is only used to process monthly payments made through the form.
- To test these feeds, test the donation form twice. In the first test, make a one-time payment. In the second test, make a monthly payment.
- Check that those payments appeared in your Stripe account.
- Refund the Stripe donations that were made as a part of the test. While it’s important to make these payments to ensure that Stripe is working properly, it’s equally as important to refund these payments so that the testing data does not get mixed in with actual donations/payments made.
Still Have Questions?
The quickest way to get support is to reach out to us within your website’s admin dashboard. Log into your website and then fill out the Request Help form. You’ll hear back from us within one business day.