Adding a header image to a page is a great way to add personality and build an emotional connection with your visitors. In the article below, we’ll start out with some common questions we hear from our clients related to header images and then show you how to add a header image to your page.
Frequently Asked Questions About Header Images
Below are a few of the most common questions we get asked about header images.
It can be great to use photos that you’ve taken at events or of your community, but sometimes you don’t have the right image and can’t easily go shoot one. That’s why we provide access to Envato Elements to all of our platform clients at no additional charge.
Browse their repository to find the perfect image. Once you’ve found it, send us the link and we’ll download it for you to use on your website.
If you want tips on choosing the perfect image as well as some additional options on where to find stock photos, you can read our blog post “Choosing Stock Photography That Isn’t Cheesy”.
We’d strongly recommend you crop the image to be the correct size before uploading it to your site. This can help with performance and ensure your site loads as quickly as possible. For more on how to resize your photos, check out our blog post “How to Format Photos for Your Nonprofit Website With Canva”.
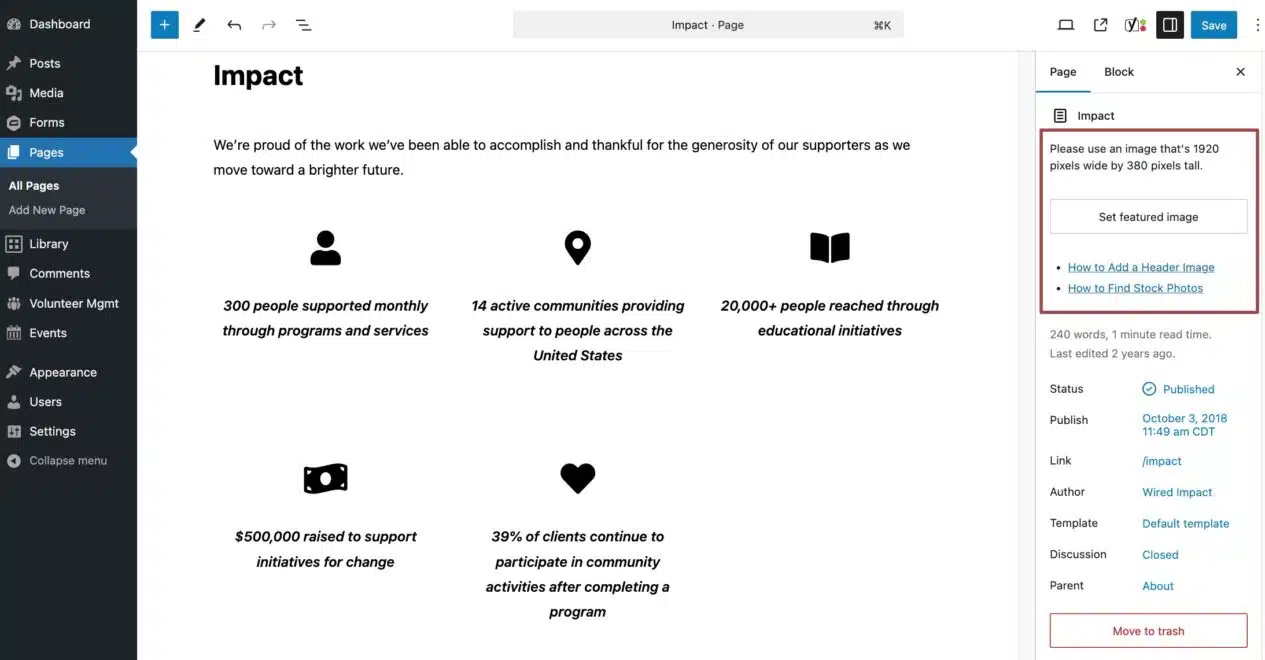
This is a little different for each theme. But you can actually find the image size directly within the backend of your website. Once you’re logged into the page you’d like to add a header image to, find the “Set featured image” button in the right sidebar. You should see a message that says the ideal dimensions for your header image on that particular page.
Try scrolling all the way up the page. Extra widgets in the right sidebar can sometimes push the ‘Set featured image’ option out of view.
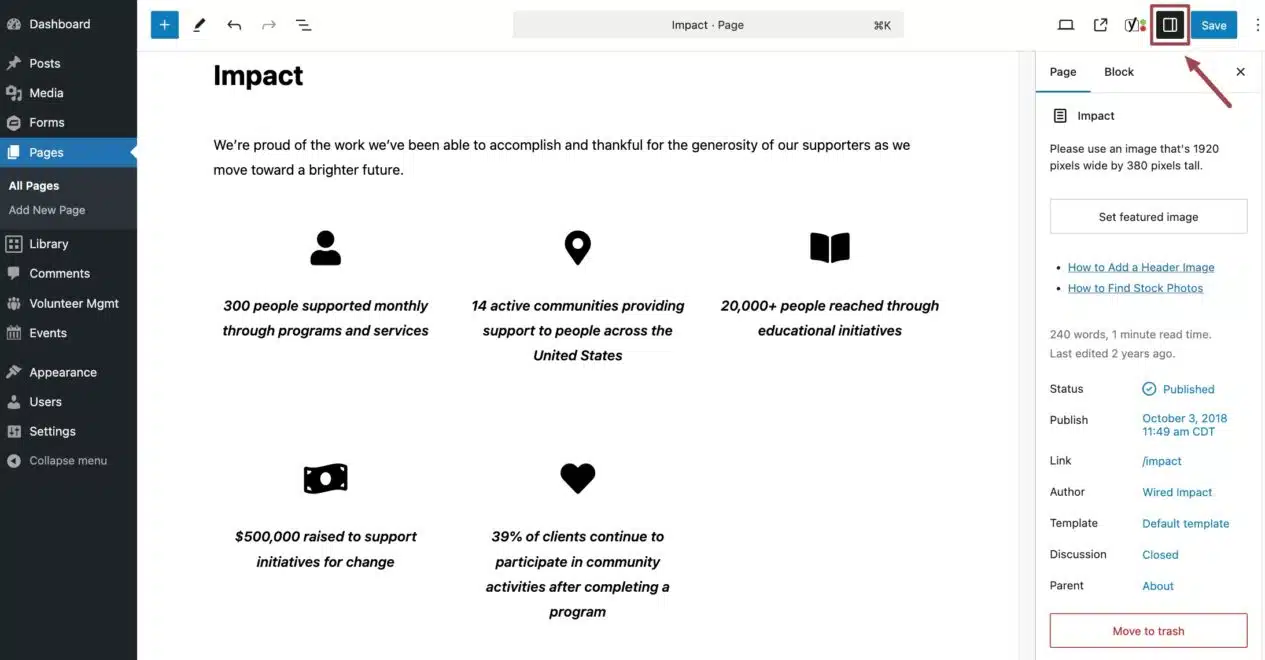
If you’re not seeing the sidebar at all, it’s probably hidden and needs to be turned back on. To do so, scroll all the way up the page and click the “Settings” icon in the upper right of the page editor. Once you click this button you should see your sidebar slide back into place.
How to Add a Header Image to a Page
Once you have an image ready to upload to your site, doing so is pretty easy. (If you haven’t selected an image to upload or haven’t cropped it to the appropriate size for your site, see the Frequently Asked Questions section above.)
Once you’re logged into the website, navigate to the page you’d like to add the header image to. After that, do the following:
- Locate the “Set featured image” button in the right sidebar (shown below).
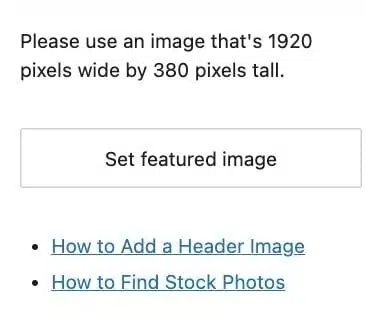
- Click the “Set featured image” button.
- Click the “Upload Files” link in the upper left of the screen that opens.
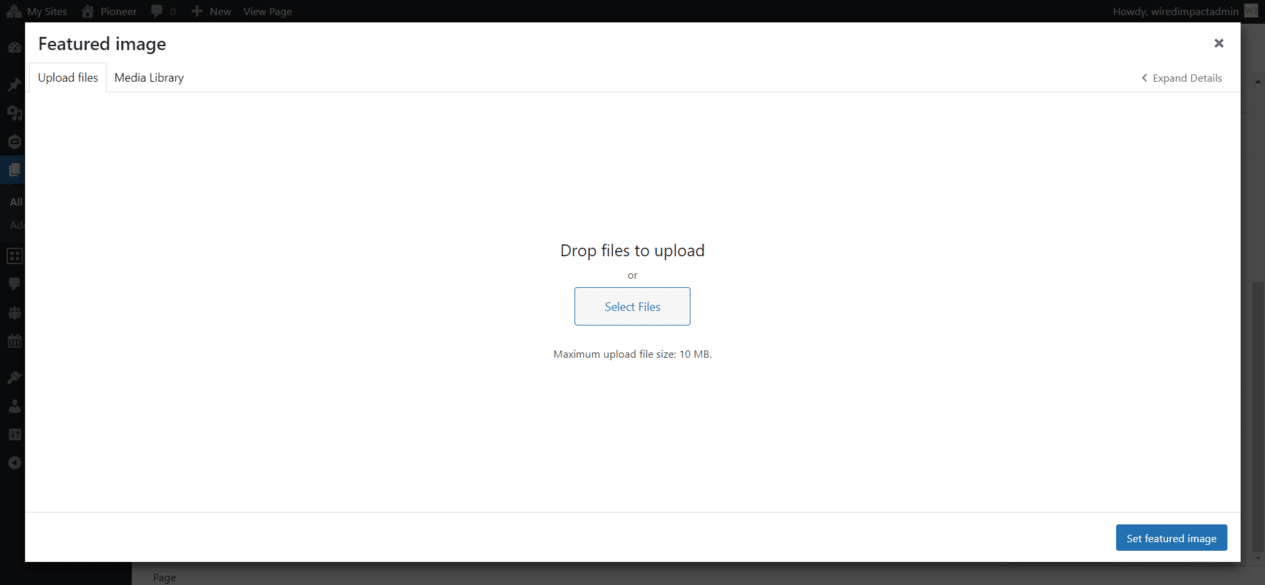
- Either drop your file into this window or click the “Select Files” button.
- Once the file has been uploaded to the website, give it a short and descriptive Title. Enter a short description of the image in the Alt Text field as well.
- Click the blue “Set featured image” button.

- You should now see a thumbnail of your image where the “Set featured image” button was in the right sidebar.
- Click the laptop button above the right sidebar to preview the page, and make sure you’re happy with how it looks.
- If you’re ready to publish your changes to the live website, click the blue “Save” button above the right sidebar.
That’s it! When you reload your page, you should see your updated header image at the top of the page.
Still Have Questions?
The quickest way to get support is to reach out to us within your website’s admin dashboard. Log into your website and then fill out the Request Help form. You’ll hear back from us within one business day.