Not all of your nonprofit’s content may be intended for global consumption. Whether it’s housing training materials for your volunteers or resources for social media ambassadors, a password-protected page can come in handy for a variety of reasons.
About Password Protection
With your Wired Impact website, it’s possible to set a page to require a password that visitors must enter before they are able to view the content. That one password will need to be shared with anyone who you’d like to be able to access the page.
At this time, users are not able to create individual usernames and passwords to access specific content on the site. Each password-protected page will have just one password that users can enter to access the content.
Sensitive content
It’s important to note that attachments uploaded to these pages will not be completely secure, even though the page requires a password. With the way that search engines index content on your site, attachments require another level of protection. Please avoid uploading sensitive materials directly to these pages.
To circumvent this, you can add sensitive materials to an outside file sharing tool, such as a Google Drive or Dropbox, and link to the file download from the content on the page. This way, sensitive content will not need to be uploaded to your WordPress website and can be kept secure through the file sharing tool.
Adding Password Protection
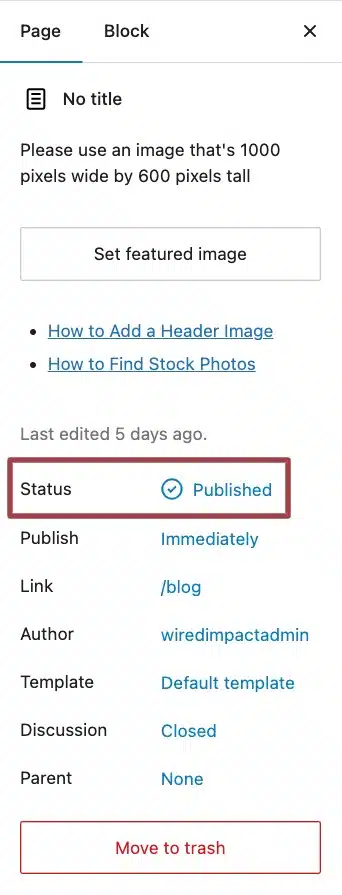
To begin, navigate to the page you would like to be password protected from the list of “Pages” on the back end of your website or create a new page. Within the “Page” settings on the right side of your screen, select the option next to “Status”.
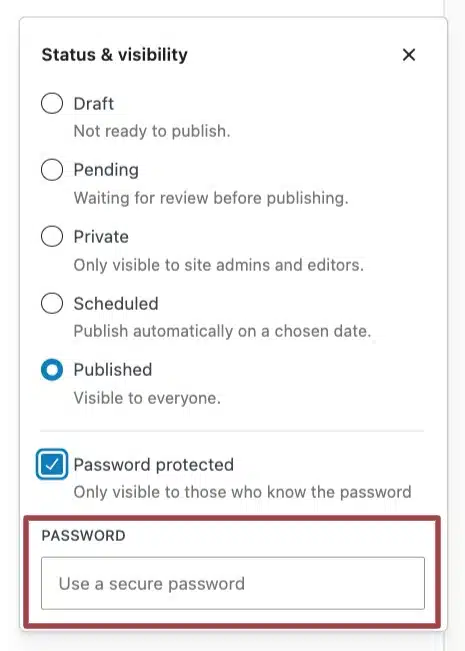
Click “Published”, which is the default option for page visibility, and select “Password protected”. At this point, a text box will appear for you to enter a password for the page.
Once you’re satisfied with your password, click the blue “Publish” or “Save” button in the top right corner of the screen.
Using the same password for multiple pages
If you’re planning to use the same password for multiple pages, your supporters will only need to enter the password once to be able to access all of the pages using the password. Many organizations use this approach to protect a whole section of the site.
For example, if a top-level parent page and all of the children pages housed underneath it use the same password, once someone enters the password for the parent page (or any child page) they could then access all the other protected pages in the section.
Changing your password
Users with the Administrator role will be able to log into your website and view or update passwords within the content editor of the specific page.
To change your password, you can update the password within by clicking the “Published” option in the “Page” settings at any time. Click the blue “Save” button in the top right corner of the screen once you’re ready to change the password. Once you do this, the old password will no longer work.
Be sure to alert anyone who requires access to this page that the password has changed! For security, we recommend using a tool like Privnote to share new passwords online.
Keeping Track of Passwords
Passwords are easy to forget, especially when they’re secure. We’d recommend using a password management tool like 1Password to store and manage all of your nonprofit’s passwords. This way, you’ll only need to remember one password to log into the management tool, and your chosen tool can keep track of the rest. Bonus points if it’s able to generate strong passwords and includes sharing capabilities to keep your team logged in.
Still Have Questions?
The quickest way to get support is to reach out to us within your website’s admin dashboard. Log into your website and then fill out the Request Help form. You’ll hear back from us within one business day.