You have the ability to export the details of any form submission on your website. When someone submits a form on the site, you can view the information they entered into the form and download it as a spreadsheet. You can also adjust the settings to download data from a certain date range or focus in on particular form fields.
Exporting form entries allows you to manage and use the information you’ve collected from your supporters or constituents in a variety of ways. Exported entries can be easily uploaded to a database, used to segment email marketing lists into groups or used to send a personalized thank you note to donors. In this article, we’ll walk through exporting entries from any of the forms on your website, including specific events.
Helpful Terminology
- A website form is anywhere where a user can enter information in fields which is stored in the back end of the website.
- Individual form fields gather up specific information, like name, address or payment information.
- CSV stands for ‘Comma Separated Value’ and is a simplified spreadsheet which can be opened by most spreadsheet tools including Microsoft Excel and Google Sheets.
Where Can I View Form Entries?
To view form entries (sometimes referred to as form submissions), log in to your website. From the Dashboard, look in the left-hand admin menu and hover over Forms. In the drop-down menu, select Entries. At the top of the page, select the form you’d like to work with from the drop-down menu.

You’ll see a list of everyone who has submitted this form on your website. To view more details about the entry, hover over the checkbox next to that entry, and select View. For forms that accept payments, keep an eye out for the Sales tab at the top of the page. This tab provides a dedicated space to view specific results and will only appear for forms that accept payments.
Exporting Form Entries
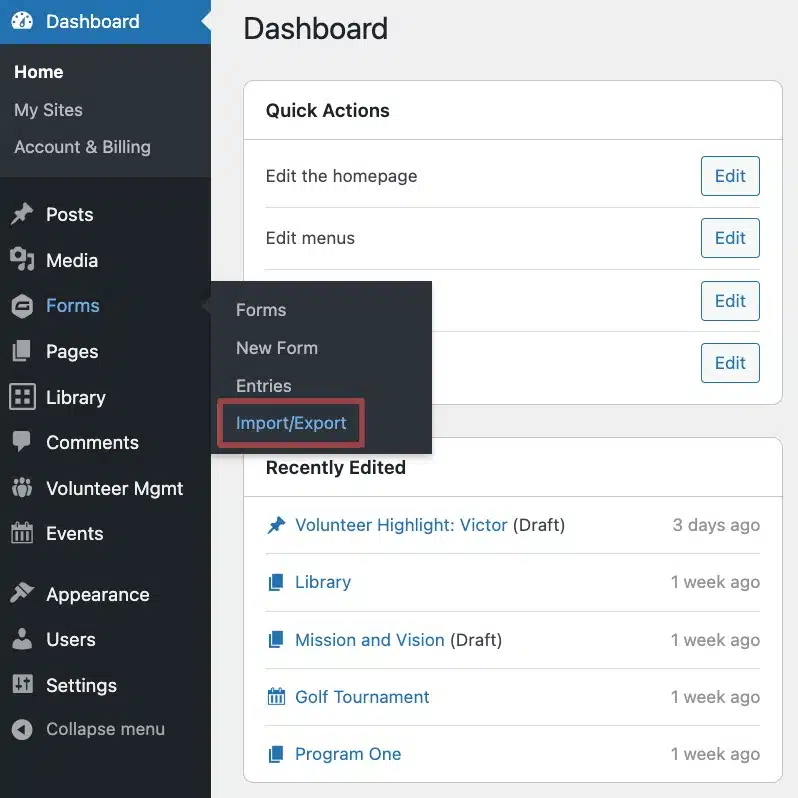
To export form entries or submissions into a spreadsheet, you’ll need to be logged into your website. From the Dashboard, look in the left-hand admin menu and hover over Forms. From the drop-down menu, select Import/Export.
Select the form you’d like to view from the Select a Form drop-down menu. Once you have selected a form, you’ll see a list of every field used on the form. You can select which form field entries should be included in your spreadsheet and which should not:
- If you’d like to add all of the collected information to your spreadsheet, choose the Select All option
- To select only certain fields (like name and email address), click on the checkbox next to that field.
- To export entries from a particular date range, select a start and end date using the Select Date Range fields.
To export your CSV, use the large blue Download Export File button at the bottom of the page. The file will automatically download to your computer.
Exporting Entries for Specific Events
It’s possible to export form entries for a specific event. The easiest way to do this is by opening the page for your event in a new window so that you can see the URL. Then you’ll follow the steps outlined in the section above to select the form and the fields you want to export.
The last step is to set some conditional logic using settings near the bottom of the page.
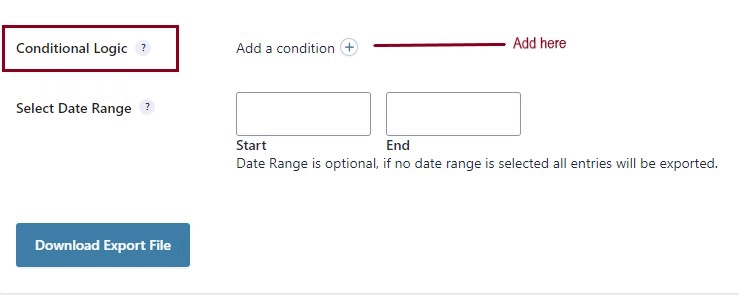
When you click the (+) symbol next to “Add a condition,” new fields will appear that will help you filter the data using specific fields.

To export data for a single event:
- Where it says “Any form field,” click the dropdown menu and select Event URL.
- Make sure the middle field is set to “is”.
- In the third field, paste in the exact URL of the event page that you opened at the start of this process.

To export entries for this event from a particular date range, select a start and end date using the Select Date Range fields.
When you’re ready, use the large blue Download Export File button at the bottom of the page. The CSV file will automatically download to your computer.
Still Have Questions?
The quickest way to get support is to reach out to us within your website’s admin dashboard. Log into your website and then fill out the Request Help form. You’ll hear back from us within one business day.