Creating and managing forms on your website? Form confirmation and notifications play a pivotal role in ensuring a smooth and engaging experience for both you and your users.
In this guide, we’ll walk you through the essential steps of setting up personalized confirmations and automated notifications using Gravity Forms.
Set a Confirmation
Once you create a form, you’ll want to customize the confirmation message to let form submitters know that they’ve successfully submitted the form and what they can expect next.
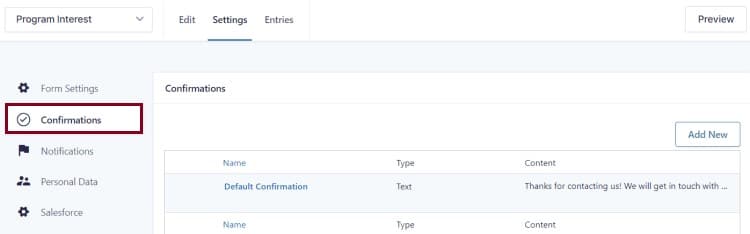
To adjust a confirmation, go to Settings at the top of the page and click Confirmations.
We’d recommend either using confirmation text or a Thank You page for the confirmation. See how to do each below.
Create a Thank You page
Create a new page and name it something like “Thanks for Your Interest in X”. This page should not be assigned a parent page or added to the navigation.
Include content on the page to thank the person who submitted your form and explain any next steps they can expect. You might also highlight other content and calls to action on your site that they may be interested in, such as your About Us page or any upcoming events.
Next, be sure to set this page to be “no index”. This means the page will be blocked from search engine results and helps ensure that only visitors who complete the form will land on this page.
- From within your Thank You page, scroll down to the Yoast SEO section.
- Find and expand the “Advanced” section.
- Select “No” under “Allow search engines to show this Page in search results?”
- Save your changes by clicking the blue Publish or Update button in the top right corner of the page editor
You’ve successfully created your dedicated Thank You page! Now, it’s time to edit your confirmation settings to send form submitters to this page.
- Visit your form’s Confirmation settings.
- Find the Default Confirmation option and click Edit.
- Select Page as your Confirmation Type.
- Use the drop-down menu to find and select your Thank You page.
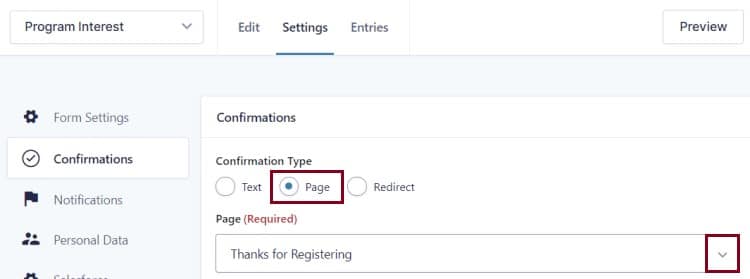
- Click the Save Confirmation button.
Create a confirmation message
Not every form requires a thank you page. Sometimes, simple “Your form was submitted successfully, and we’ll be in touch with you soon.” will do the trick if there aren’t many next steps for the form submitter.
To use a text confirmation message:
- Visit your form’s Confirmation settings.
- Find the Default Confirmation option and click Edit.
- Select Text as your Confirmation Type.
- Adjust the content to be whatever you’d like.
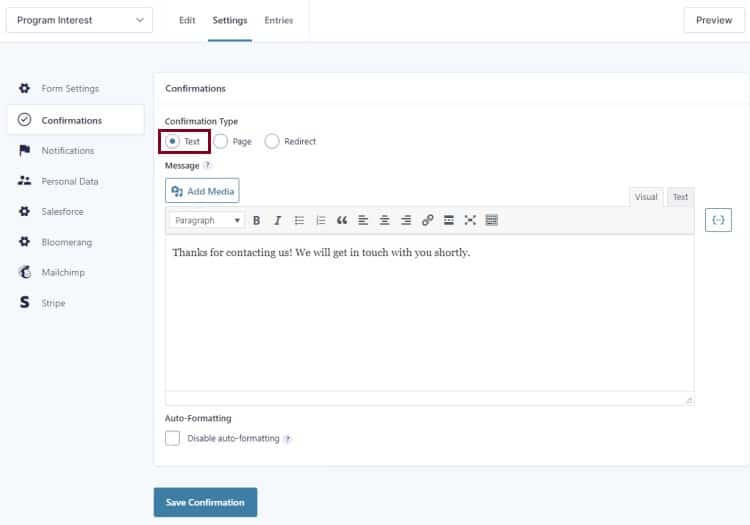
- Click the Save Confirmation button.
Set Notifications
If you’d like your team to receive an email when someone submits your form — or send an email with specific information to the user who submitted the form — then you’ll need to set up form notifications.
Admin notification
To update the notification that goes to you or members of your team:
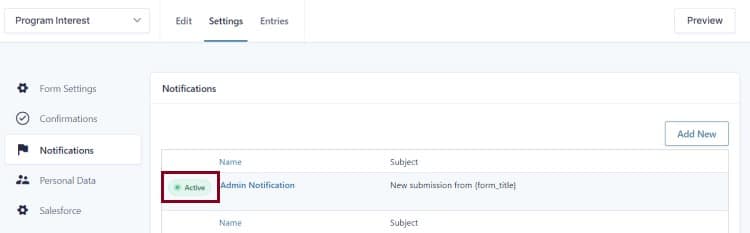
- Visit your form’s Notifications settings.
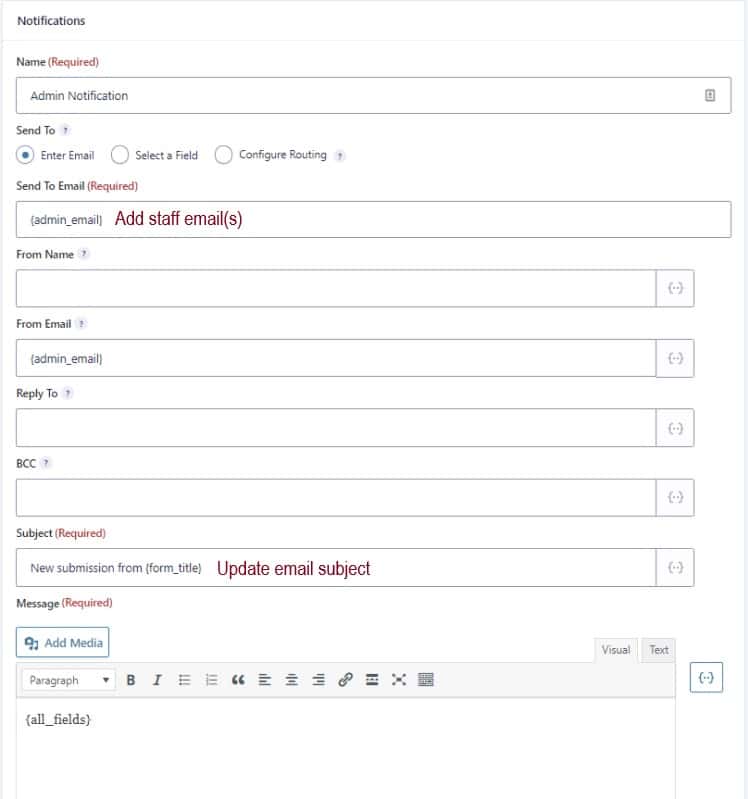
- Find the Admin Notification and click Edit.
- Add to or update the Send To Email field to include all of the email addresses new form submission notifications should be sent to, separated by commas.
- The default {admin_email} will go to the same email that receives administrative emails for your website.
- Adjust the Subject field to change the subject of this automated email based on your preferences.
If neither you nor your team members would like to receive an email each time the form is submitted, you can turn these notifications off. You’ll still be able to review and export form submissions at any time.
To turn this notification off (or back on), simply click on the status button next to the Admin Notification.
Submitter notification
To send an automated notification email to the person who submitted the form, you’ll need to have required the email field within your form fields.
- Visit your form’s Notification settings and click Add New
- Name the notification. This is purely internal and can be something along the lines of “Submitter Notification”.
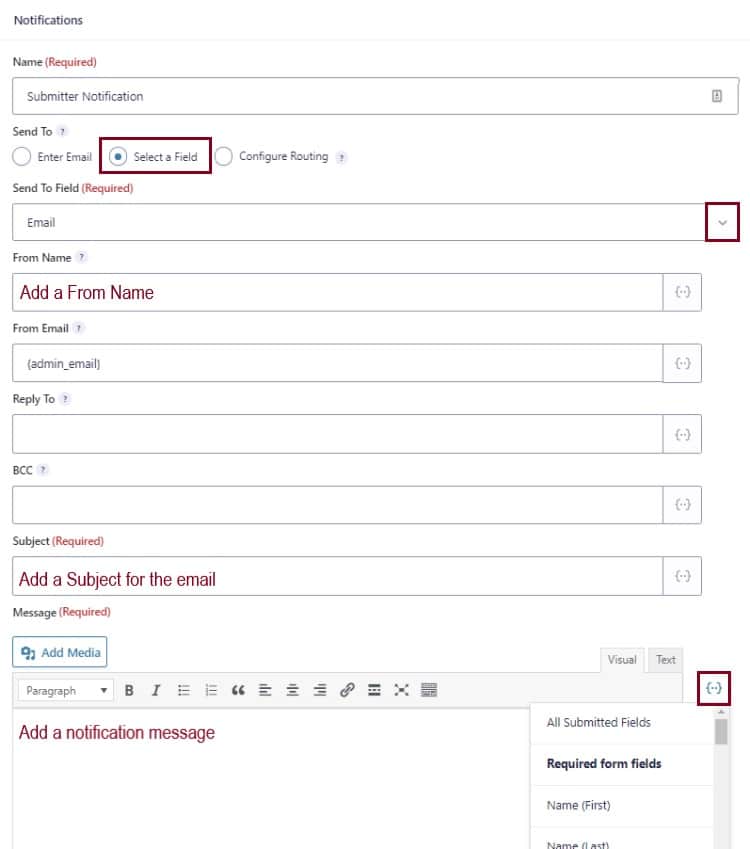
- Within the Send To settings, click the Select a Field option.
- Choose the Email field from the dropdown.
- If you don’t see this option, double-check your form to make sure the Email field is required.
- Add a From Name for the email notification.
- Adjust the From Email if it must be different from the default admin email of your website.
- Specify a Reply To address if that email is different from the From Email set in the previous step.
- Note a subject line for the email next in the Subject settings
- Add the body of your email within the Message section.
- To include a copy of all answers from the form in your email, use {all_fields} to automatically pull those into the email.
- Click the Merge Tags icon {..} to insert specific answers in your message.
- Click the Update Notification button at the bottom of the page to save your changes.
Congratulations! You’ve now mastered the art of form confirmation and notifications.
Still Have Questions?
The quickest way to get support is to reach out to us within your website’s admin dashboard. Log into your website and then fill out the Request Help form. You’ll hear back from us within one business day.