Gravity Forms is a robust form-building tool that you have access to through your Wired Impact website. In this article, we’ll walk through creating a simple form from scratch using Gravity Forms on your website.
The drag-and-drop system makes it easy to build simple forms for collecting basic information from your website visitors. To add other more complicated form fields, such as integrations or fields using conditional logic, Gravity Forms provides great documentation and tutorials.
FEATURE AVAILABILITY
The Form Builder is available for Grow and Amplify plan websites. Change your plan in the Account & Billing section of your website Dashboard.
Jump Ahead To
- Available Form Templates
- Outline Your Form
- Create a New Form
- Set Up Confirmations and Notifications
- Add Your Form to a Page
Form Templates
We’ve created a variety of templates you can use to quickly add and customize forms on your own website. Those templates include:
- Contact Us form
- Share Your Story form
- Store form
- Campaign Donation form
- Start a Fundraising Campaign form
If the form you’d like to create is similar to one of these templates, you can use that form template as a place to start. From there, you can add or remove fields based on your needs and customize the remaining settings as needed.
For event registration forms, we’d recommend using the event system on your website.
Outline Your Form
Before you get started, make a plan for your new form. Think about what you need the form to do, who will be using it, and where it makes the most sense to include on your website.
In almost all cases, we recommend including your form on just one page rather than placing it on multiple pages. You can always add a link to the page with the form from other related pages of your site when needed.
Let’s use an interest form for a nonprofit program as an example. Website users would fill out and submit this form if they’re interested in participating in a program.
Rather than piecing things together as you go along, consider the following details before you start building:
- What information you need to gather
- Which form fields you’ll need to include to collect that information
- Which fields should be required for a user to submit the form
- Content the user will be shown after submitting the form
- Content for the email visitors will receive after submitting the form
- Email address(es) for those at your organization who should be notified when the form is submitted
For this example Program Interest form, you might ask for information about the prospective participant, like their name and contact information, and then add the form to a specific program page so visitors can get in touch.
Create a New Form
This section includes information on how to do the following:
- Add form fields
- Adjust the settings
- Set confirmations and notifications
To get started on our Program Interest form, you’ll need to create a new form in the back end of your website.
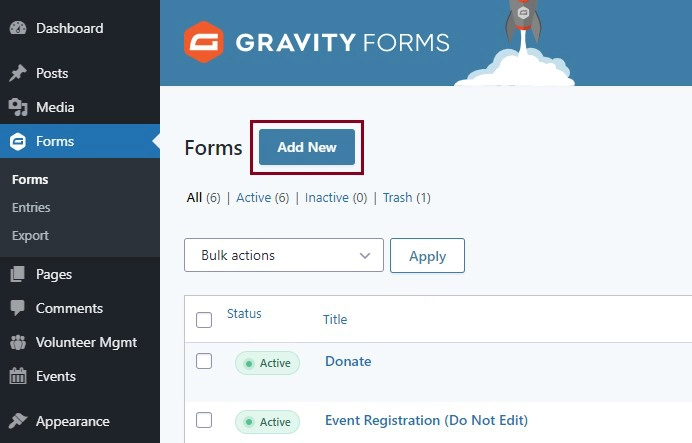
- From your dashboard, go to Forms in the left-hand admin menu
- At the top of the Forms page, click the Add New button
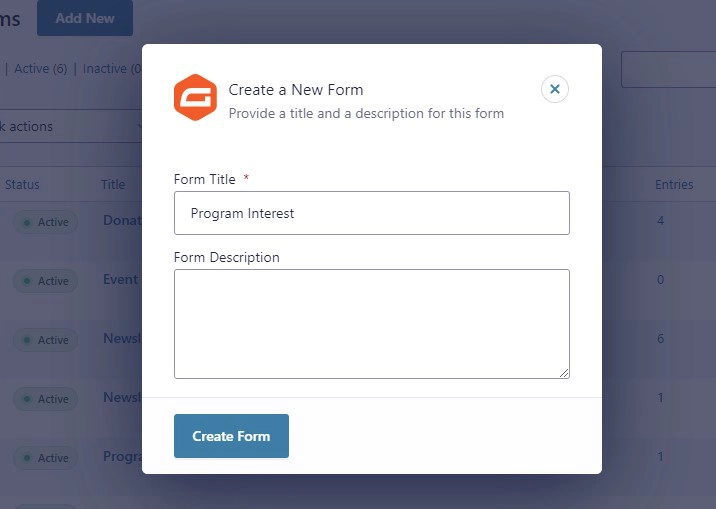
- Add a title for the form, such as “Program Interest”.
- You can leave the description field blank for now.
- Click Create Form
Add form fields
Once you click Create Form, you’ll be taken to the form editor. This is where you can add your own form fields.
A variety of form fields are available to customize your form. For example, you might use the Radio Buttons field for multiple choice questions and the Paragraph Text field to ask questions requiring longer responses. Learn more about each type of field and its intended purpose.
To add a form field, drag and drop the desired field from the bank of possible options on the right-hand side of your screen. You can also reorder fields once they’ve been added by using the same drag-and-drop method.
Each form field has additional settings you can use to customize the field to meet your needs, such as requiring a field, changing the field label, or enabling conditional logic.
You can find these additional settings by clicking on the field. A list of options will be displayed under Field Settings on the right side of the editor.
Once your fields have been added, you’ll want to review the form button before continuing.
The default button text is “Submit”. You can edit this to something more custom for your form, like “Sign Up” or “Express Interest.” Select the button and update the settings in the right-hand side of the editor to adjust the form button text.
Using the Program Interest form example, we included the following fields in this simple form.
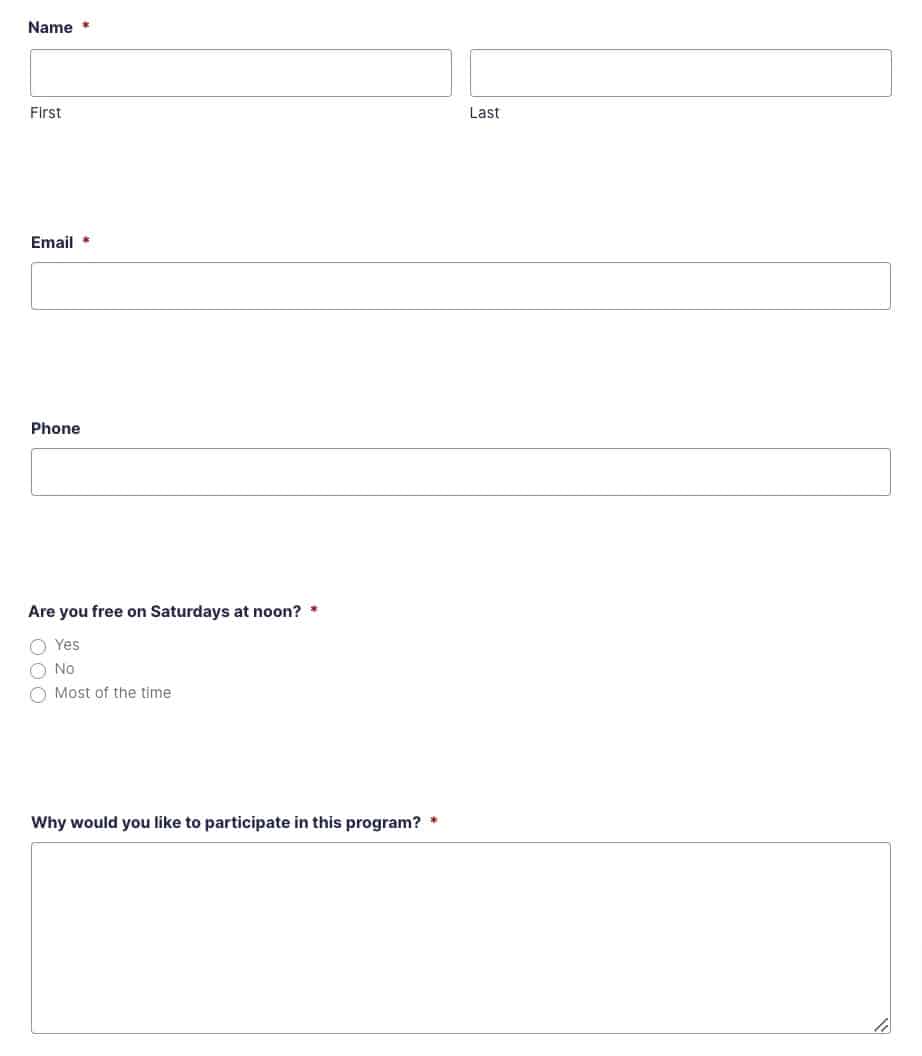
Once you’re happy with the form fields, click the blue Save Form button on the right.
Adjust the settings
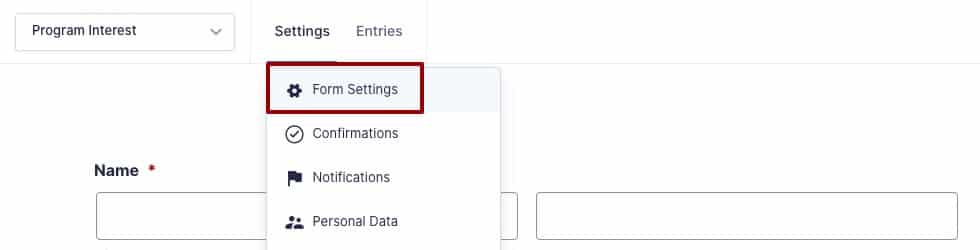
Outside of the form fields, you’ll want to make a few updates to the form’s overall settings.
- Select Form Settings at the top of your screen
- Scroll down to the Form Options section
- Enable the Anti-spam honeypot setting to prevent spam submissions. Learn more about this approach to spam prevention.
- Select the “Do not create an entry” option.
- Enable the Animated transitions setting if your form includes any fields with conditional logic.
- Click the Save Settings button.
Set up form confirmations and notifications
Once you’ve made a form, you’ll need to adjust the confirmation and notification settings. This will ensure that website visitors receive a confirmation after successfully submitting your form and that your team is notified accordingly. Learn how to set up form confirmation and notifications.
Add Your Form to a Page
Now that you’ve created your form follow the steps below to add it to a page, test it, and publish it.
- Go to the page you’d like to add your form to.
- Click the (+) symbol to add a block and search for Gravity Forms.
- Once the block has been added, you can select which form to place on your page.
- Choose the form you want to display on this page by selecting the option from the drop-down menu.
- In the Block Settings in the sidebar on the right of your screen, use the toggles to control whether to show the form title and form description.
- We recommend hiding both of these in most cases. Your form title and description can be helpful for internal purposes but aren’t always the most clear for visitors. Instead, use page content like paragraph text or headings to introduce your form. This also gives you more control over how that title and description look on your page.
- Preview your page to see how the form will display on your site.
- Follow the steps to test your new form within the page preview.
- If everything looks great, publish your changes by using the blue Publish or Update button in the top right corner of the page editor.
That’s it! Your form is now live.
Review and Export Form Submissions
Once visitors begin to submit completed forms through your website, you’ll be able to view and export that data for your records.
Still Have Questions?
The quickest way to get support is to reach out to us within your website’s admin dashboard. Log into your website and then fill out the Request Help form. You’ll hear back from us within one business day.