There might be instances when you’d like to include several images at once on a page. This could be helpful in blog posts recapping fundraisers and events, for example. In this article, we outline the steps to add and format image galleries on your website pages and posts.
Prepare Photos for a Gallery
Before adding photos to your site, double-check that the ones you’ve selected are a reasonable size. If you’ve just taken a photo from your camera, or downloaded a large high resolution image from a stock photo site, it’s really important to size those down.
Uploading a large image can significantly reduce the load speed of the page. Small images should be under 100KB, and larger header images should be under 350 KB.
If you don’t have a program on your computer to crop and resize images, we recommend free tools like Pixlr or Canva.
Finding Photos to Use
If you’re short on photos, give Envato Elements a browse. It’s included in your website platform subscription! Simply send us the links of photos you like. We’ll get those downloaded and over to you to use on your website.
Add an Image Gallery
You can add individual photos throughout a page by using the Image block wherever you need it. If you’d like to display multiple photos together in a grid view or with columns, use the Gallery block instead. The Gallery block is made up of individual Image blocks.
Once you are logged in to your website, open the page where you would like to add a gallery and make sure you are looking at the editing view on the back end.
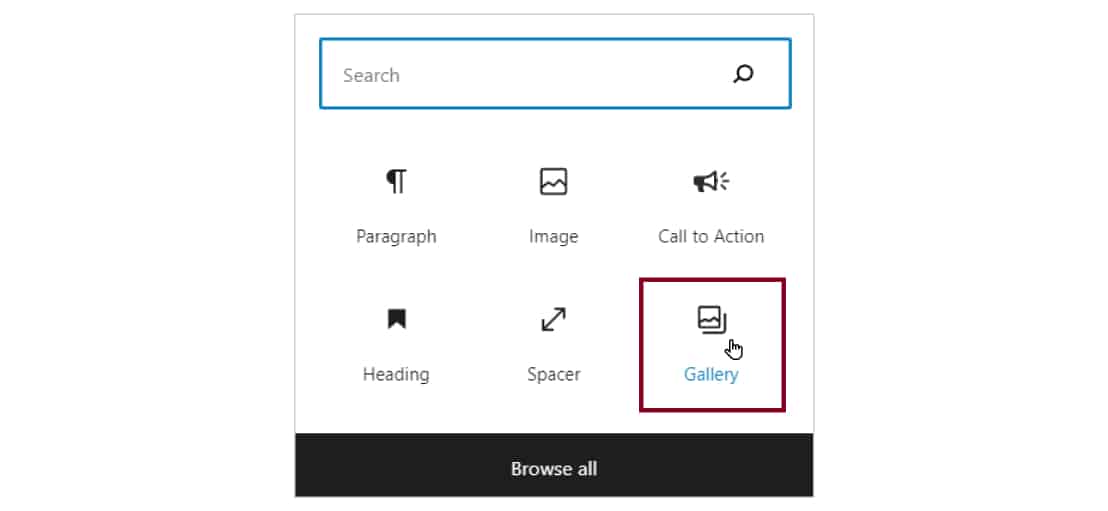
- Locate the position on the page where you’d like to add the gallery and click “Add block.”
- Choose the Gallery block.
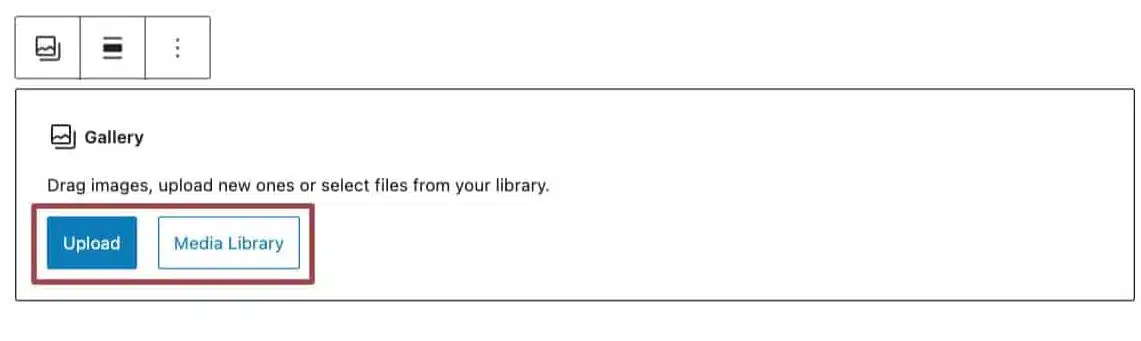
- Access the photos by uploading them from your computer or by choosing from existing images in your Media Library.
- Click on the images you want to add to your gallery and adjust the Attachment Details on the right of the screen to add a title, caption, alt text and description if you prefer. For accessibility, we suggest adding at least a title and alt text for images that serve more than a purely decorative purpose.
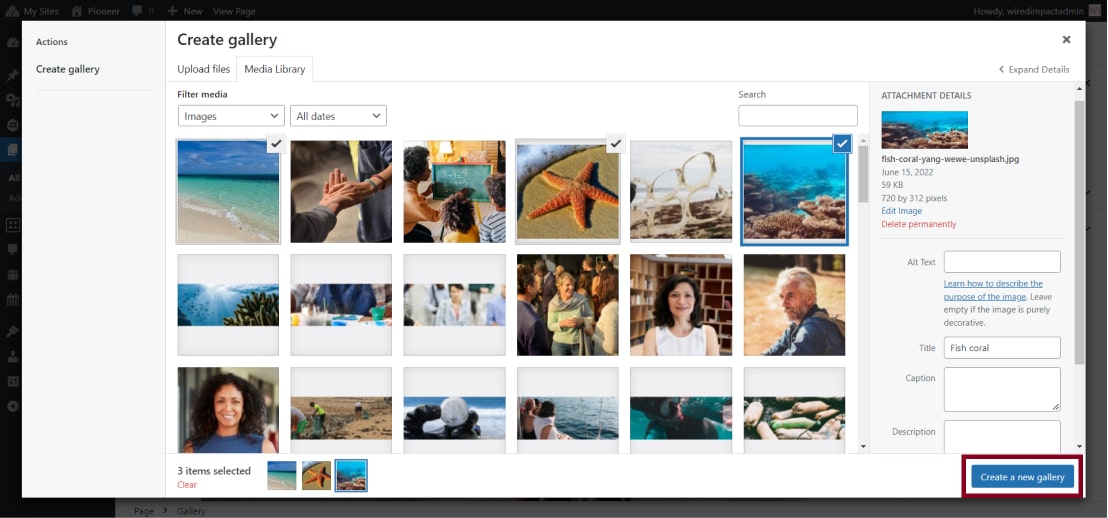
- Click the blue “Create a new gallery” button.
- In the next screen, you’ll see all of your images in the order they’ll appear. You can change the order by dragging and dropping the images into the right sequence. You can also add captions on this page if you like.
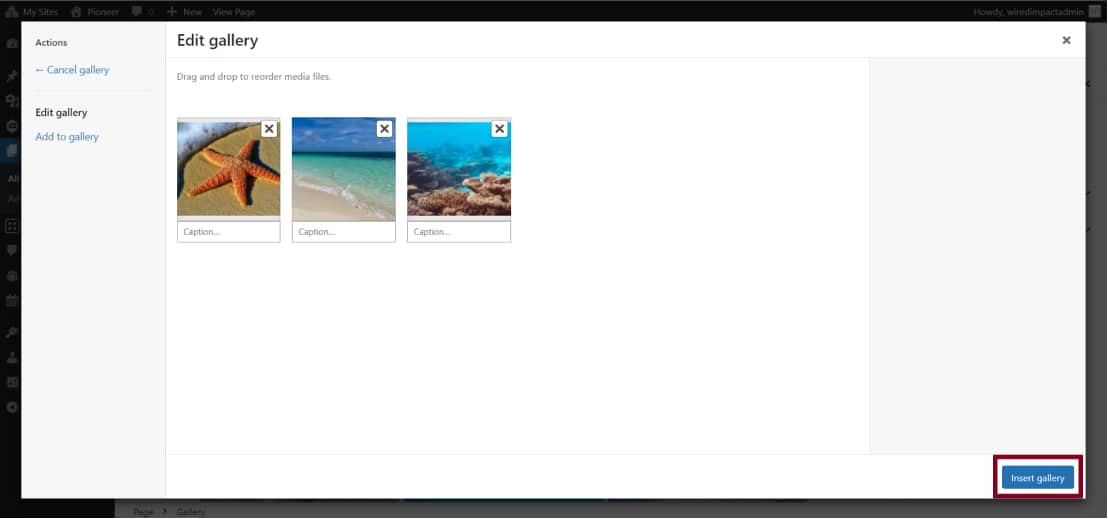
- After you’ve ordered and captioned your images, click the blue “Insert gallery” button. The site will automatically create a nice, clean layout for your images based on their sizes.
Update Gallery Settings
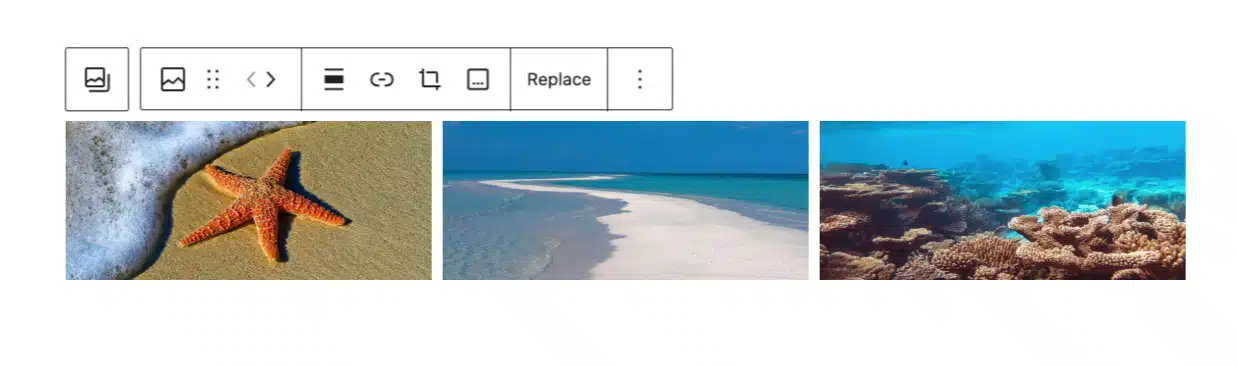
When the Gallery block is selected, you can make a variety of adjustments so it displays correctly.
These settings can be found in the toolbar above the gallery or the block settings sidebar on the right side of the editor.
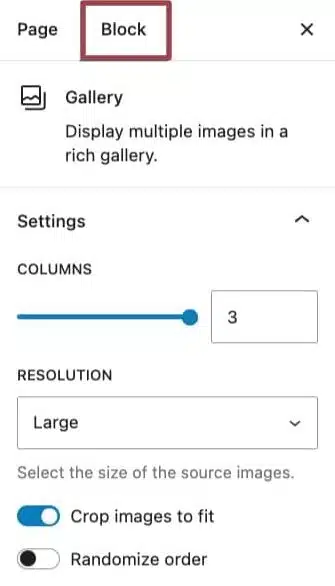
Columns
You can adjust the number of columns and preview how that impacts the look of the gallery. For best results, try to keep it to 5 columns or less.
Resolution
You can adjust the width and height of the images in the gallery by selecting predetermined options (thumbnail, medium, and full-size).
Crop Images to Fit
To ensure your images look balanced, we suggest enabling the crop option.
Randomize Order
To randomize the image order in a Gallery block, locate the “Randomize order” toggle and enable it.
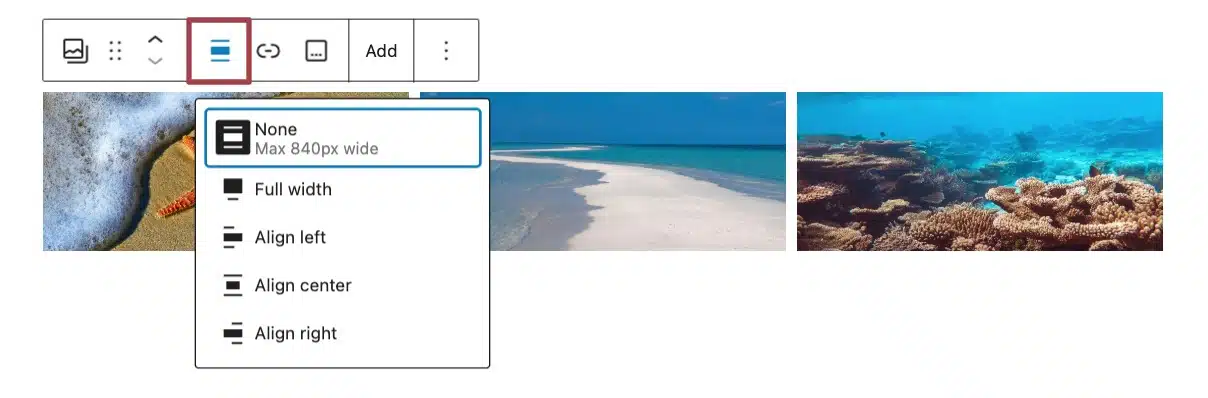
Change Alignment
If you want to change the alignment of your gallery to left, center, or right, those settings can be found in the toolbar above the Gallery block.
Preview your page to see how everything looks and publish or update when you’re ready for everyone to see the photos.
Update an Existing Gallery
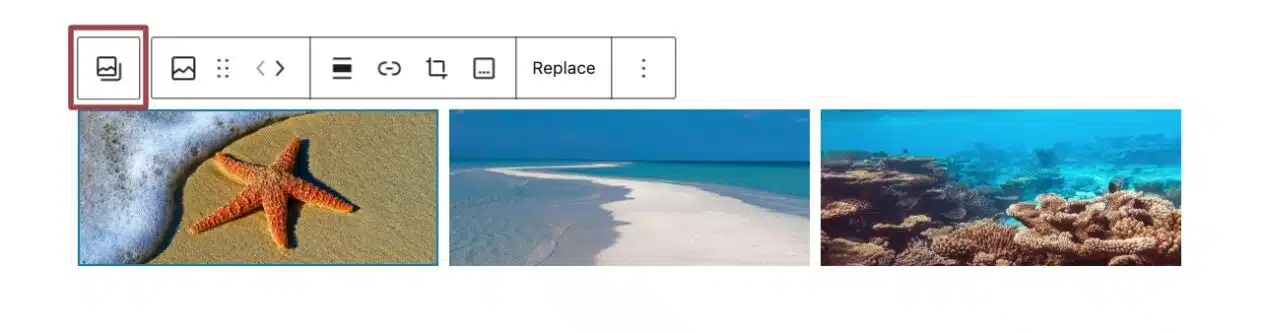
Once you’ve added a gallery to the page using the Gallery block, you can easily add, reorder, or remove images within it.
To display the gallery options, select one of the images and then click the “Select Gallery” button in the toolbar. Another option is to use the List View at the top left of the page editor.
Add a New Image
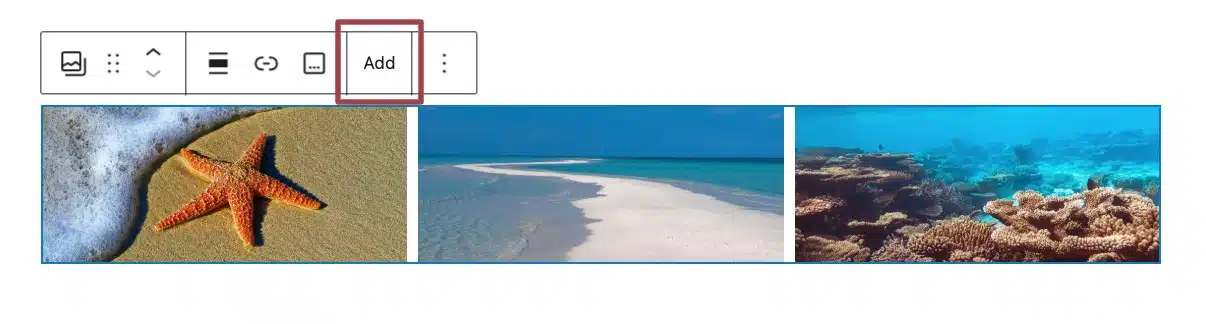
To add new images to the gallery, select the Gallery Block to display the toolbar and click the “Add” button.
Edit Image Settings
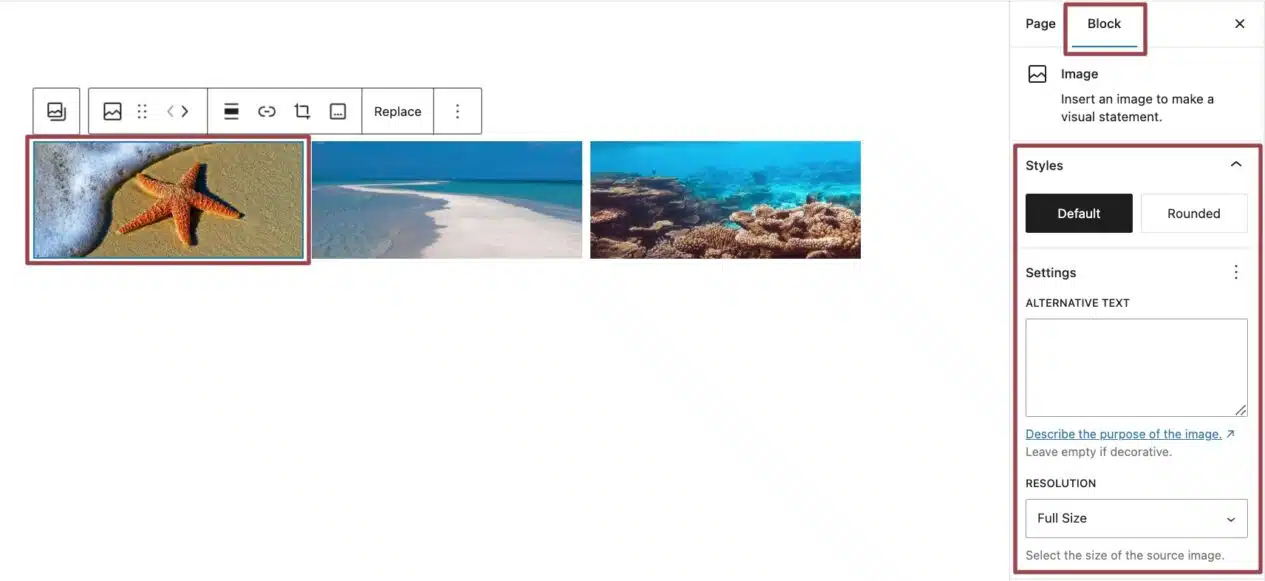
You can individually adjust the settings for each image in the gallery (like cropping, adding links, or alt text). When you click an image, you’ll access the toolbar and settings on the right sidebar, as you would with any individual image block. You can read more about the image block settings here.
Reorder Images
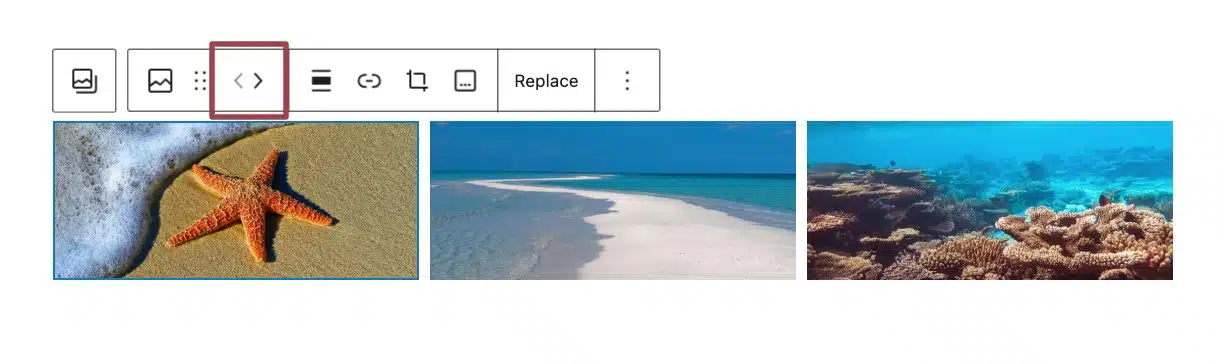
You can reorder the images by selecting one and using the left and right arrows.
Remove an Image
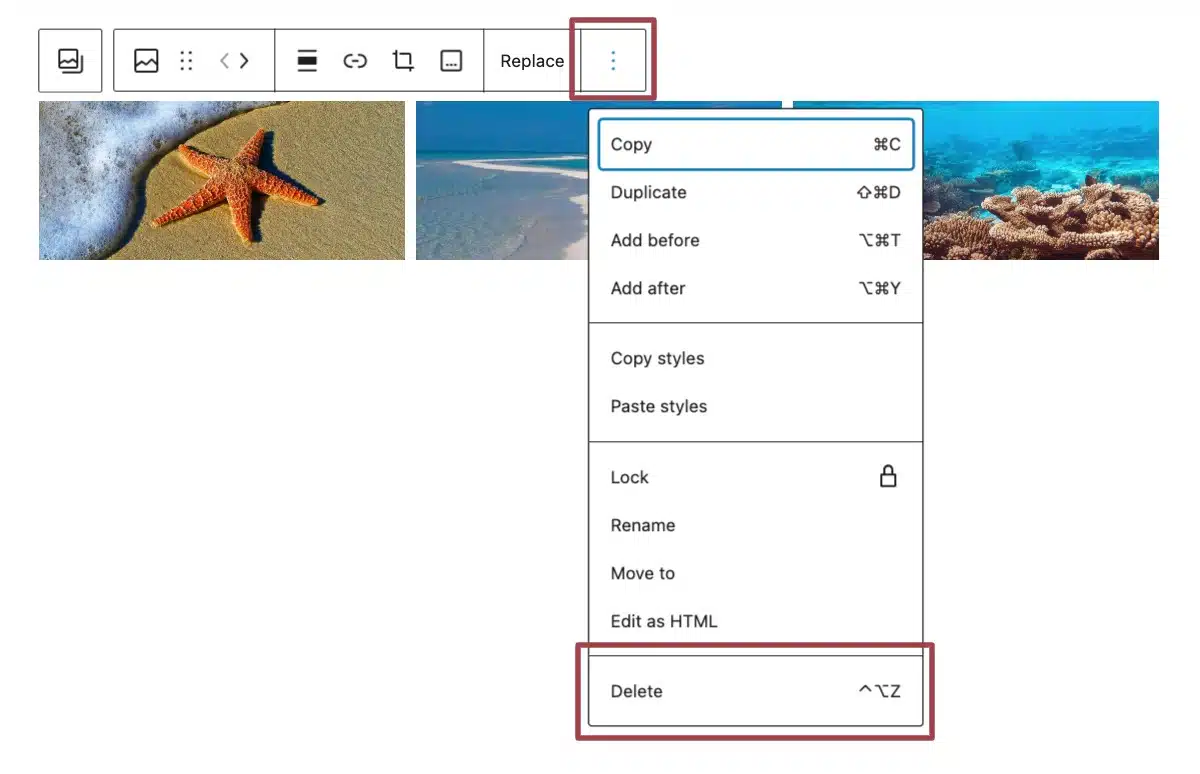
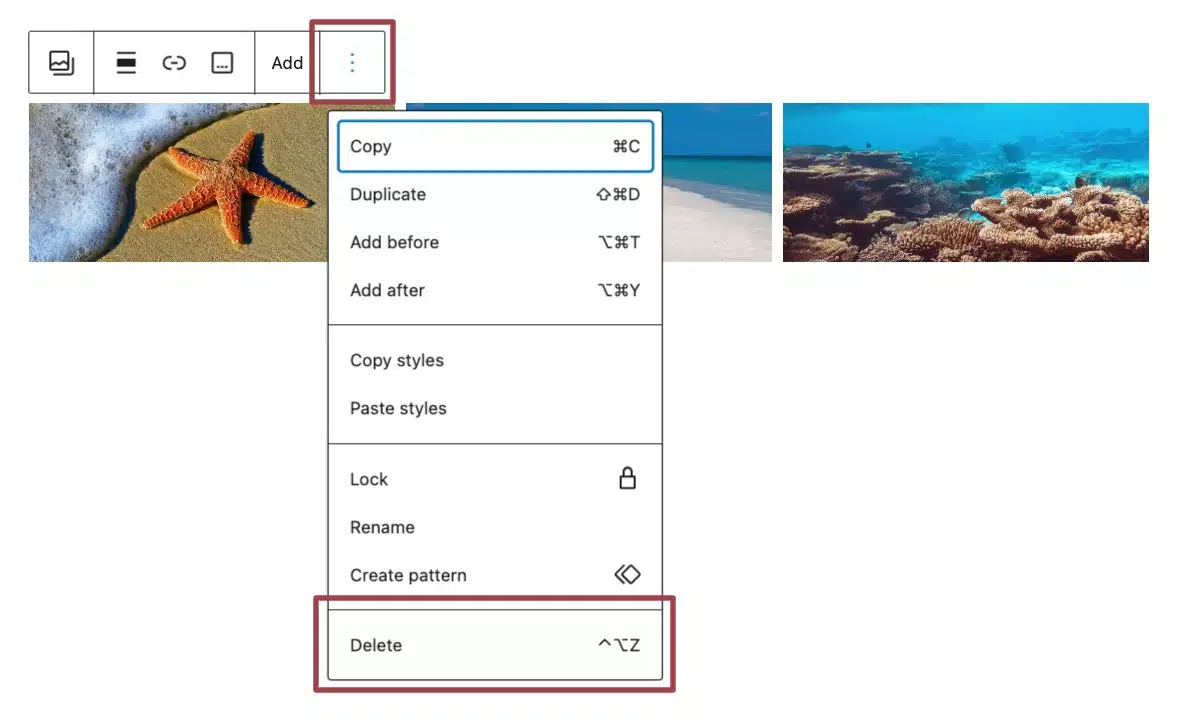
To remove a single image from your gallery, select the image, click on the three dots and select the “Delete” option.
Remove a Gallery
To remove a gallery altogether, select the gallery, click the three-dot icon in the toolbar, and select “Delete”.
Add a Single Image to a Page
This process is similar to adding a gallery. For detailed steps, check out our article about adding an image to a page.
Add a Featured Image to a Page
A featured image is also called a header image. It’s the photo that shows at the top of your page or post. Learn more about adding a header image.
Still Have Questions?
The quickest way to get support is to reach out to us within your website’s admin dashboard. Log into your website and then fill out the Request Help form. You’ll hear back from us within one business day.