
Photos are a powerful way to bring your mission to life and engage your website visitors. But finding the right image is only half the battle.
To deliver a great experience for those visitors, those files need to be prepared for the web.
Thankfully, learning how to format photos only takes a few moments and can make all the difference.
The Perks of Prepping Your Photos
Listen, I know. It’s hard enough just finding the right photos. And when you finally do land on the right one, the last thing you want is to spend more time preparing it for your website.
But there are major benefits to cropping and resizing your photos first.
You’ll Boost Your Site Speed
Visitors expect your site to load quickly. Data shows that if your page load slows from 1 to 3 seconds, you’re 32% more likely to lose a visitor. And that likelihood jumps to 90% at 5 seconds.
That means all the hard work you put into finding the perfect photo can be wasted if a supporter bounces before your page even loads. And one of the most common culprits for that slowdown is a large image file.
By resizing images to the correct dimensions, and compressing them to be as lightweight as possible, you can improve your page speed and provide a better experience for visitors.
You’ll Tell a Better Story
Many areas of your site require images to use specific dimensions. Think of your homepage hero image or the featured image for blog posts.
Cropping these yourself gives you the chance to specify which element of the photo is in view and where visitors’ attention should focus.
The most impactful photos work together with your content to elevate your message. By cropping your photo to focus on the right element, you can turn even a generic image into a powerful one that intentionally supports the rest of your content.
How to Format Photos With Canva
Canva is a popular and easy-to-use graphic design tool that’s perfect for prepping your photos. You can easily crop and resize with a standard free account. Even better, eligible nonprofits can access premium features at no cost.
Let’s walk through how to format a header image for a web page with Canva.
- Start by signing in or creating an account, if you haven’t already.
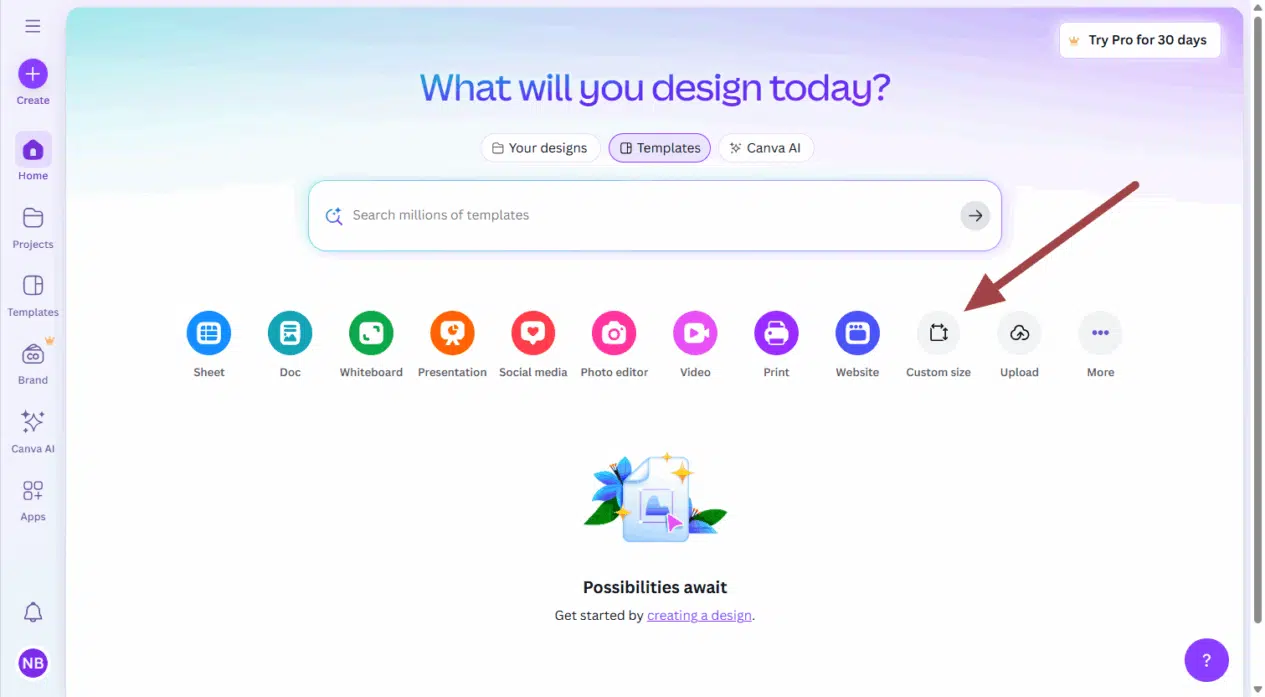
- Click the “Custom size” option. (You could also click the purple “Create” button in the far left-hand menu and select “Custom size”.
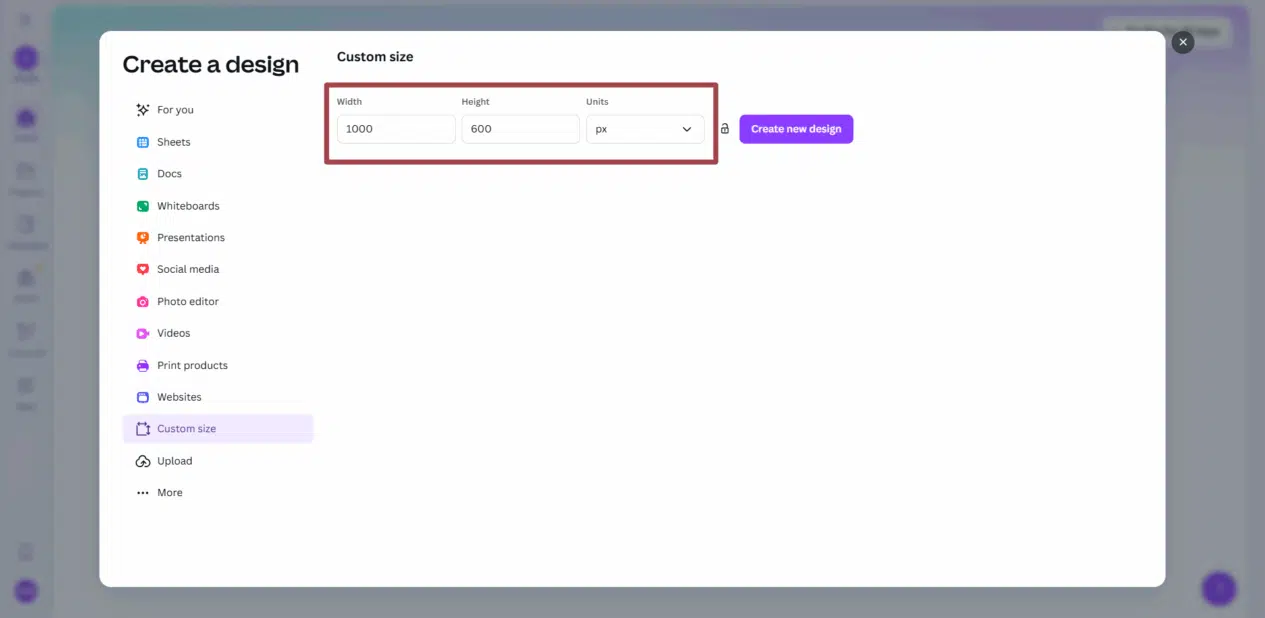
- Enter the size you need in pixels to create a new artboard with the exact dimensions for your header image.
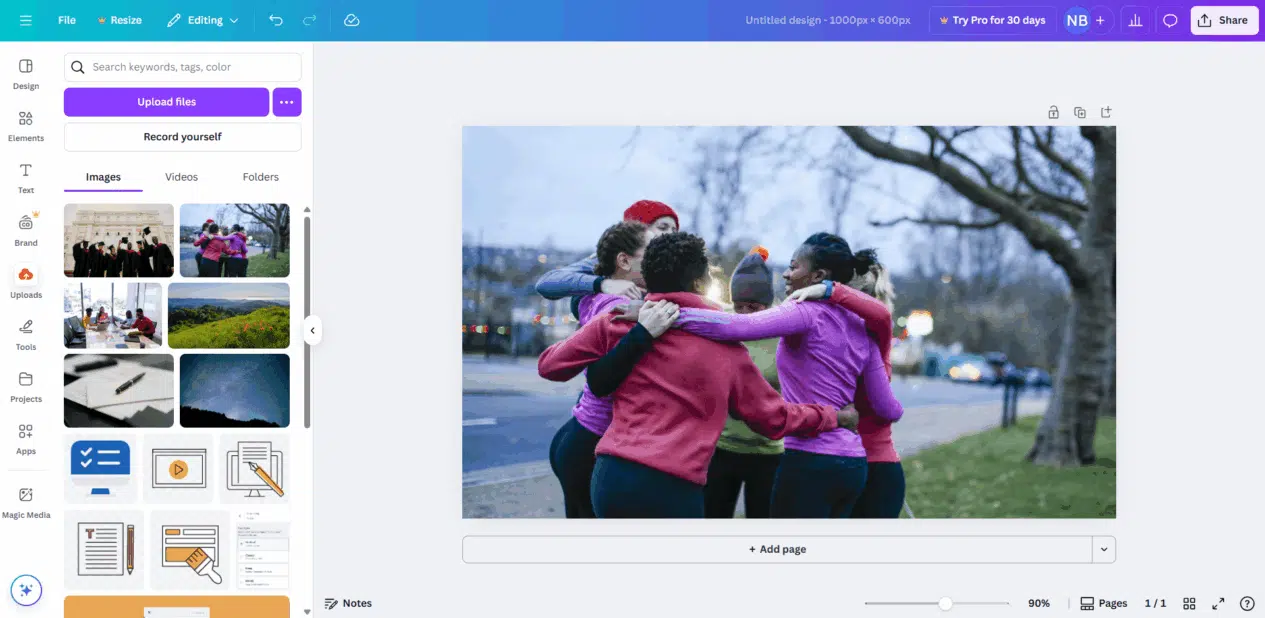
- Upload your image. When it’s ready, the photo will appear as a thumbnail in your gallery on the left.

- Select the image you want to format. This will add it to your artboard.

- Resize your photo to fill the artboard. Drag the corners to resize the image, adjusting the placement until you’re happy with the crop.
- Once you’re finished, be sure to name your file. We want to avoid any blank or generic file names.

- Click the “Share” button in the top right and select the “Download” option.

- Make sure the file type is set to JPG for your website and then click the purple “Download” button to save your image.
Now you have a compelling photo that will fit perfectly as the featured image — without slowing down your page in the process.
And if you’re looking to add or refresh other featured images throughout your site, no need to start from scratch.
- Just click the “Add page” button below your original design. This will duplicate your file setup so you can easily add another image and repeat these steps.

Finalize Your Photos for the Web
Now that you’ve learned the basics of how to format photos, it’s just about time to add your images to your site. These final steps will help you ensure your image is actually website-ready.
Give Your Photo a Descriptive Name
Before uploading your photo to your site, be sure the file is named appropriately.
Whatever you do, do not upload your photo with a name like “IMG_123.” Not only is that unhelpful for search engines, but it’ll make it a nightmare to find in your media library down the road.
Instead, come up with a name that uses one of your keywords or describes the content of the photo. For example, a more helpful file name might be something like “food-drive-volunteers-2025”.
This small step makes your image more discoverable by search engines and easier for your own team to manage.
Write Meaningful Alt Text
Once your file is uploaded to your site, the final step is to add alt text (or an “alternative text attribute”).
It’s a short description of the image that allows visitors using screen readers to understand the image’s content. And adding it is a simple but important step for website accessibility.
Learn how to handle image alt text in our guide, and explore other ways to make your content more accessible to all visitors.
And there you have it! Now you know how to format photos for your website. A small amount of prep can help in a big way to level up your site and provide a stellar experience for visitors.
What are your biggest challenges with website photos? Have you found other tools helpful? Share your thoughts or questions in the comments.
What You Should Do Now
01. Come to Nonprofit Website Office Hours
We cover a new topic every few weeks. Plus get a live answer to any website-related question you're wrestling with.
02. Book a Website Call
Find a time to discuss your nonprofit's website needs. Discover what's worked for other nonprofits like you and see how easy building your new site can be.
03. Start a Free Website Trial
Try our nonprofit website platform for yourself. Instantly get access to every feature to see if it's the right fit for your needs. No credit card required.
Comments