Adding guest blog posts to your site is a great way to increase traffic and connect with other organizations, among other marketing benefits. When publishing a guest blog post, it’s especially important to give credit to the author of the post.
For a refresher on how to publish a new blog post, visit this article.
In the following article, we outline how to add a guest author to a blog post by creating a new user on your website. If you do not want to go through the steps of creating a new user or your website uses the Pioneer or Scholar theme, you can manually include author information at the start or end of your post content.
Jump Ahead
- How to Add a Guest Author by Creating a New User
- Update User Information
- Select Guest Author Name in Blog Post
- How Guest Author Names are Displayed
How to Add a Guest Author by Creating a New User
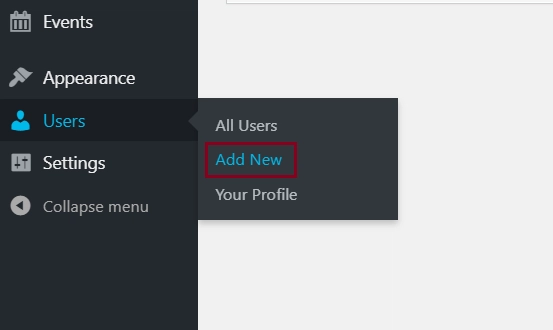
In order to add an author to a blog post on your website, they must have a user profile on your site. To create a new user, log in to the back end of your website. In the admin menu on the left, hover over the “Users” tab and click “Add New”.
Customize the user information
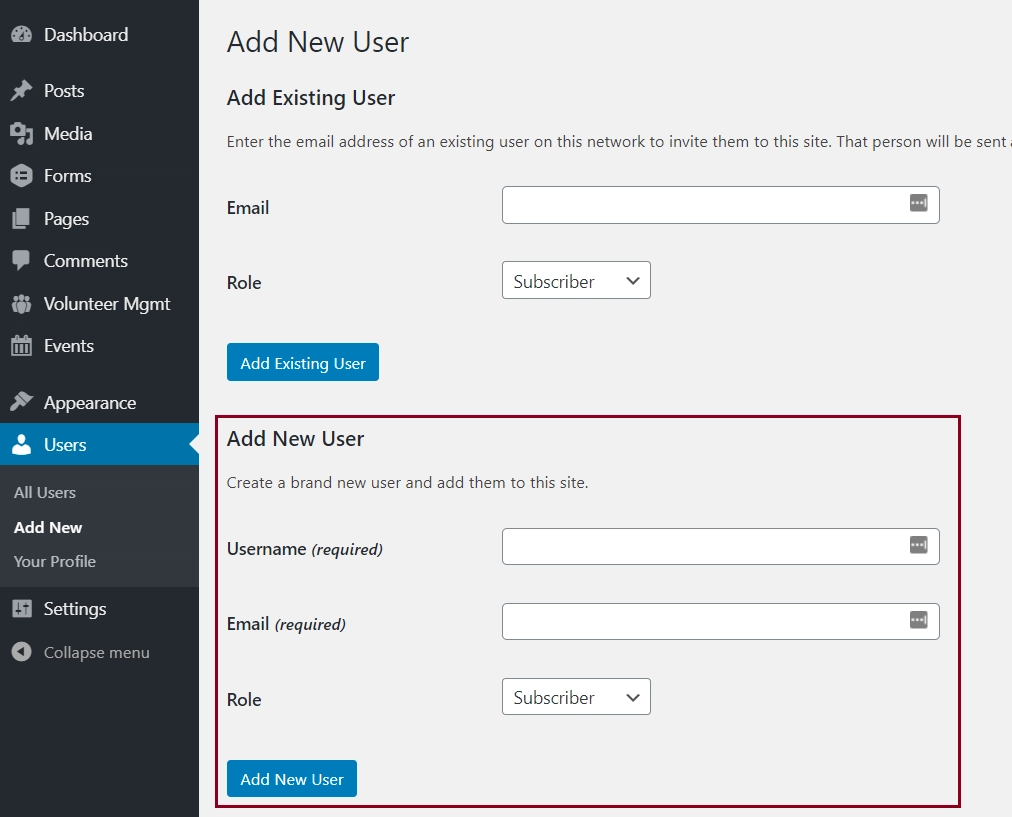
On the Add New page, you will see two options: Add an existing user or Add a new user. We are going to use the bottom option: Add a new user.
- Enter a username for the guest author. We recommend the first initial of their first name followed by their last name (no spaces).
- Enter the guest author’s email address.
Select a role for your new user
Author Role: If you trust the guest author to add, update and manage posts or events on your website (as well as respond to comments and add media files such as photos and downloadable files), give them an Author role. Someone designated as an author can publish and manage their own posts, but not the content of other users.
Contributor Role: If you would like to limit your guest author’s ability to publish and edit their post or events, choosing the “Contributor” role allows them to be listed as an author of the post but does not allow them to edit content in the post editor. They won’t be able to add media such as photos or downloadable files either. If you choose the contributor role, you (the admin) will have to approve, enter and edit all of the content in the post.
Note: A user designated as a “Subscriber” cannot be added as an author to a post. Read more about the roles and capabilities of users here.
Once you have filled in all of the appropriate information. Click the blue “Add New User” button to finish.
Update User Information
Now that you have added your guest author as a new user, fill in additional information in the user settings about the author.
Edit new user settings
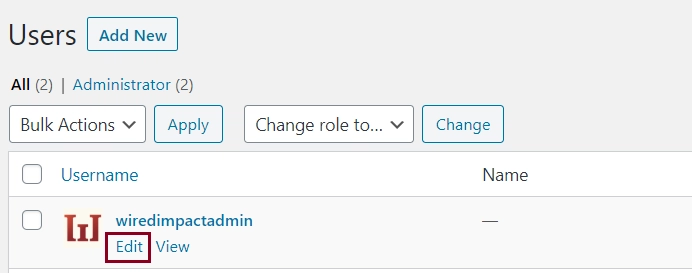
- Go to Users in the admin menu on the left.
- Click the Edit button next to the user you want to update.
Update name settings
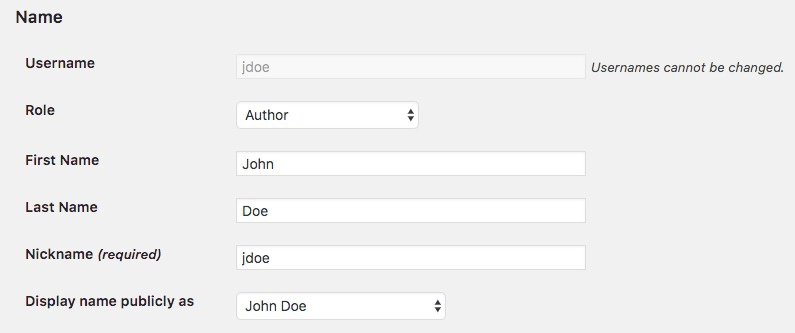
- Enter the first and last name of the guest author.
- Enter a nickname (required).
- Choose an option for how you want the guest author’s name to be displayed.
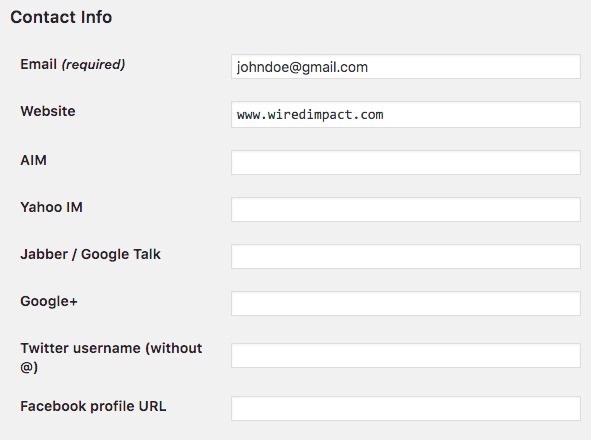
Update contact info
Update any relevant contact information of the guest author. You can leave this blank for now and have the guest author log in and update this information once they have access to their account.
Add an author biography
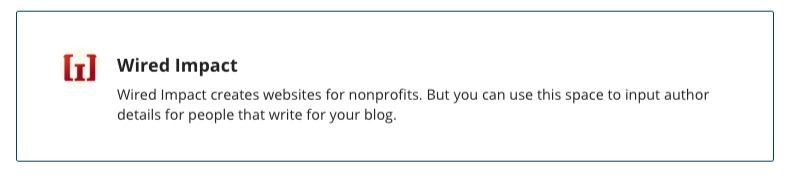
- Add a short biography in the new user’s profile. We suggest adding a sentence that identifies this person as a guest author, like in the example below. In the Airy and Scholar themes, this bio will show up next to the author’s name in the blog post.
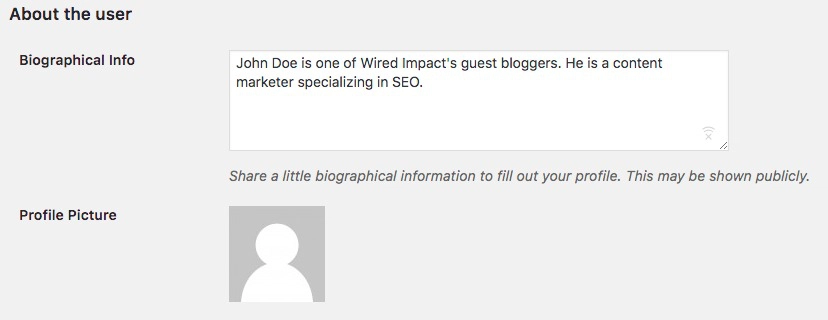
- Website admins cannot upload a photo for another user. The guest author can upload a profile picture themselves through Gravatar once they log in to their new user account.
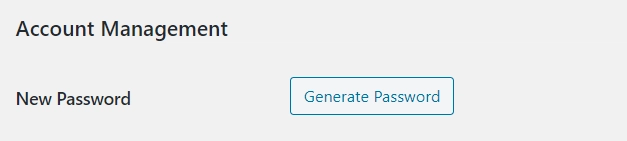
Generate a new password
- Under the Account Management section, click the “Generate Password” button. WordPress will automate a secure password. Make sure that you copy this password.
- Send an email to the guest author with a link to the WordPress sign in page and make sure to also include their username and password.
- Once they have this information, they can log in to their account and create a new password.
- Additionally, they can update their profile picture and any other general information. To make these specific changes, the user can log in and click on their name in the upper right-hand corner and select “Edit My Profile”.
Select Guest Author Name in Blog Post
Now that you have created a new user account for your guest author, you can select them as an author for a blog post.
- In the admin menu on the left, go to Posts.
- Hover over a blog post title and click “Edit”.
- Within the Document Settings on the right side of the screen, select an author from the drop-down menu.
- Click the blue “Update” button once you’re finished making edits.
Note: A user given the Author role will only be able to see and edit posts that they have authored. They will not have access to other posts.
How Guest Author Names are Displayed
The appearance of your guest author information depends on what design option you use.
Chroma
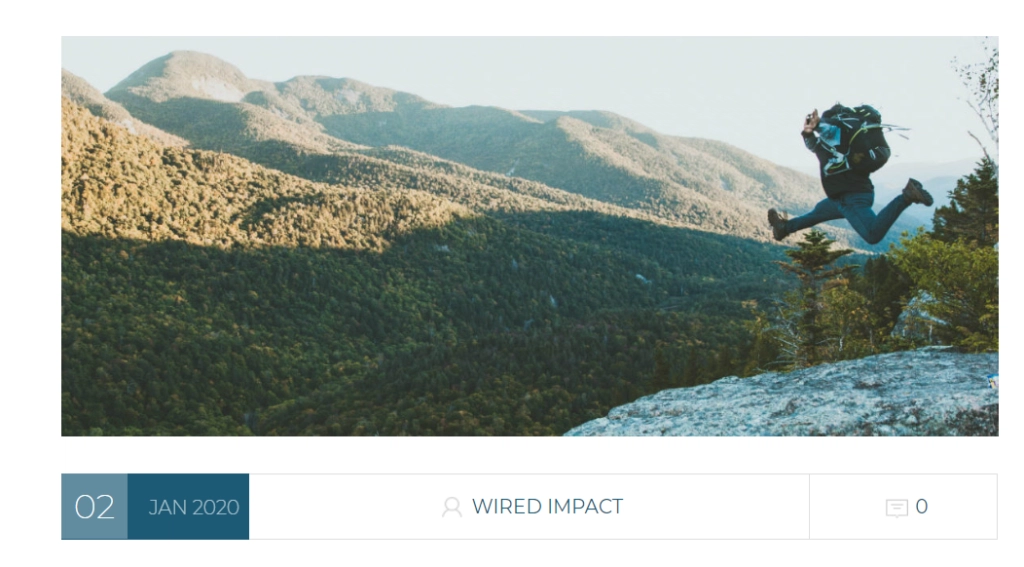
With Chroma, the author’s name will appear right underneath the featured image. You can click on the author’s name to be taken to a page that displays any other blog posts from this author.
If you’d like to show additional details about the author on the blog post, we recommend using the Person block to feature author information at the start or end of your post content.
Airy
When using the Airy theme, the author’s name and bio appear underneath the blog content and above the comments section. The author’s profile picture will appear to the left of their name.
Pioneer and Scholar
When using the Pioneer or Scholar theme, there is no author display on blog posts. To add a guest author, manually include the author information at the start or end of your post content. We recommend using the Person block.
Vision
When using the Vision theme, the author’s name will show to the right of the post date while viewing a list of blog posts.

Vision does not display the author within individual blog posts. To show the author, manually include the author information at the start or end of your post content. We recommend using the Person block.
Still Have Questions?
The quickest way to get support is to reach out to us within your website’s admin dashboard. Log into your website and then fill out the Request Help form. You’ll hear back from us within one business day.