From time to time, you may want to freshen up the content on your homepage. And we get it… it can be tough to remember where to add every little detail.
In this post, we’ll outline how to customize your Airy homepage so it’s the perfect introduction to your cause. If you’re not using the Airy theme, learn how to adjust the homepage on other themes.
To update anything on your website, you’ll first need to be logged in to access the back end. Using the admin menu, navigate to the “Pages” section and click “Home — Front Page”.

How the Homepage Works
Your homepage uses the block editor. You can add, remove, and rearrange most blocks, with some exceptions.
These homepage blocks look and function differently from blocks you’ll find on other pages and posts. This allows your homepage to have a more unique look.
Use the labeled photo and links below to find instructions for each homepage block.

Jump Ahead To
Update the Hero Block
The Hero block is the large image at the top of your homepage. While you can customize many elements of this block, it is not possible to move or delete this block on your homepage.

Replace the Image
- Crop your image to 1920 pixels wide by 684 pixels tall.
- Click “Replace Image” within the block toolbar and either upload your desired homepage hero image or select it from the Media Library.
- If your image is too bright for the white text to be readable, use the “Darken image for better contrast” setting in the sidebar.
Update the Headline
- Place your cursor where it says “Add a heading…” or hover over the existing text to enter your headline.
- Try to keep this text as short as possible to ensure your headline is quick and easy for visitors to read.
Add a Button
- Add button text to highlight an important call to action.
- Enter the URL where you want the button to direct users.
- If you don’t want the button to show up on the front end, just leave it empty.
- The button also won’t show up if the URL field is empty.
Update the Image Callouts Block
This block allows you to display images with text in various layouts using three different alignment options: centered, right image and left image. You can move this block, delete it or add it to your homepage multiple times.
You can choose to have as few as one column (spanning full width) or as many as four. The number of columns you choose will impact what alignment options are available. For example, an Image Callouts block with three or more callouts will only allow center alignment.
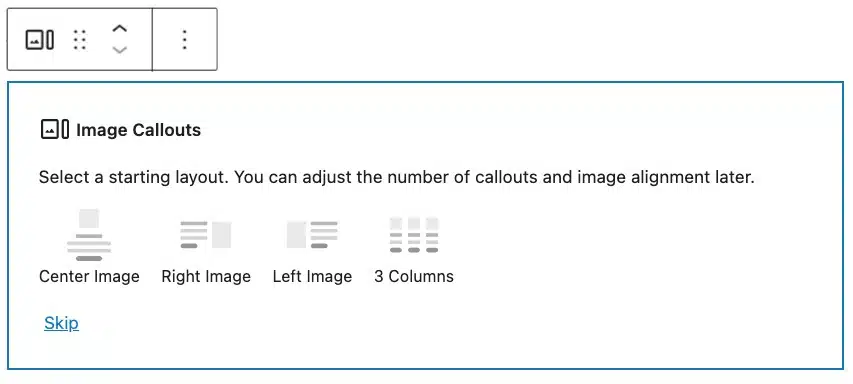
- Use the block inserter to add an Image Callouts block and select a layout that fits your needs.
- You’ll be able to choose from a variety of common layout options. If you don’t see one you’d like, you can click “Skip” at the bottom of the block and customize it later using the block toolbar.
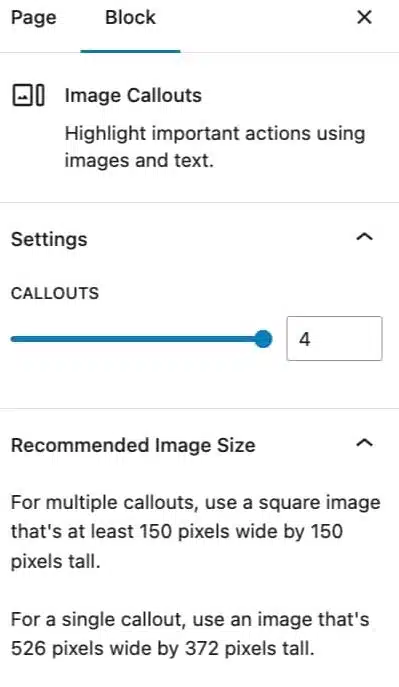
- Make sure the Image Callouts parent block is selected and use the slider under “Callouts” in the block settings to specify the number of columns.
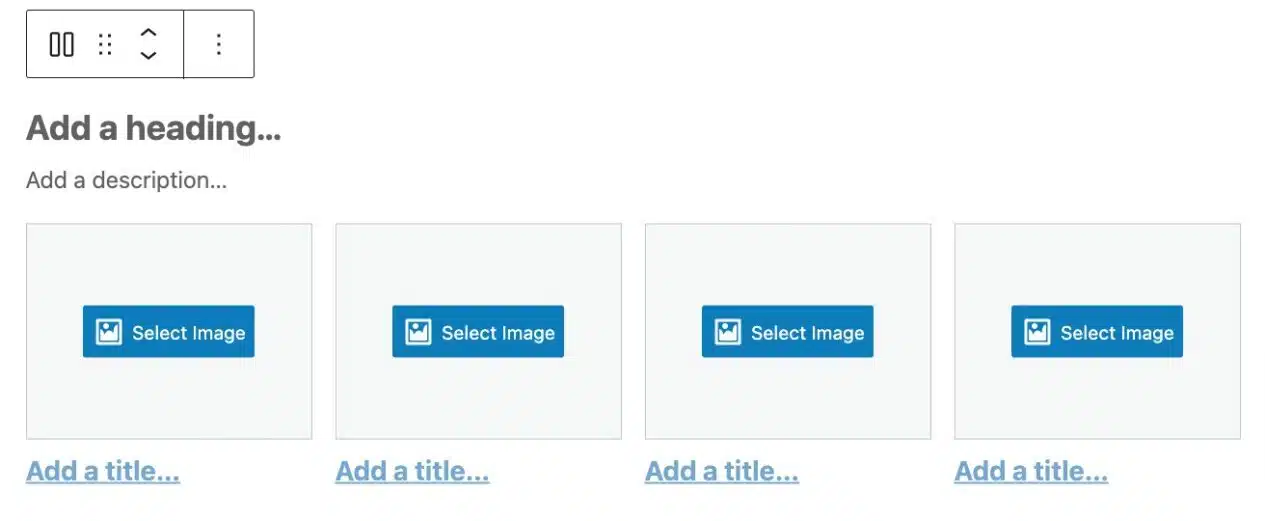
Once you determine the number of columns you’d like, you can customize each callout. To customize a callout:
- Select an image.
- The recommended image sizes will change depending on the number of callouts. For multiple callouts, use a square image that’s at least 150 pixels wide by 150 pixels tall. For a single callout, use an image that’s 526 pixels wide by 372 pixels tall.
- Add a brief heading.
- Add a short description.
- Customize the button text.
- If you don’t want the button to show up on the front end, just leave it empty.
- Add the URL of the page you’d like to link visitors to.
- Note that the images themselves cannot be linked; links can only be added to the headings, inside the description text, and to buttons.
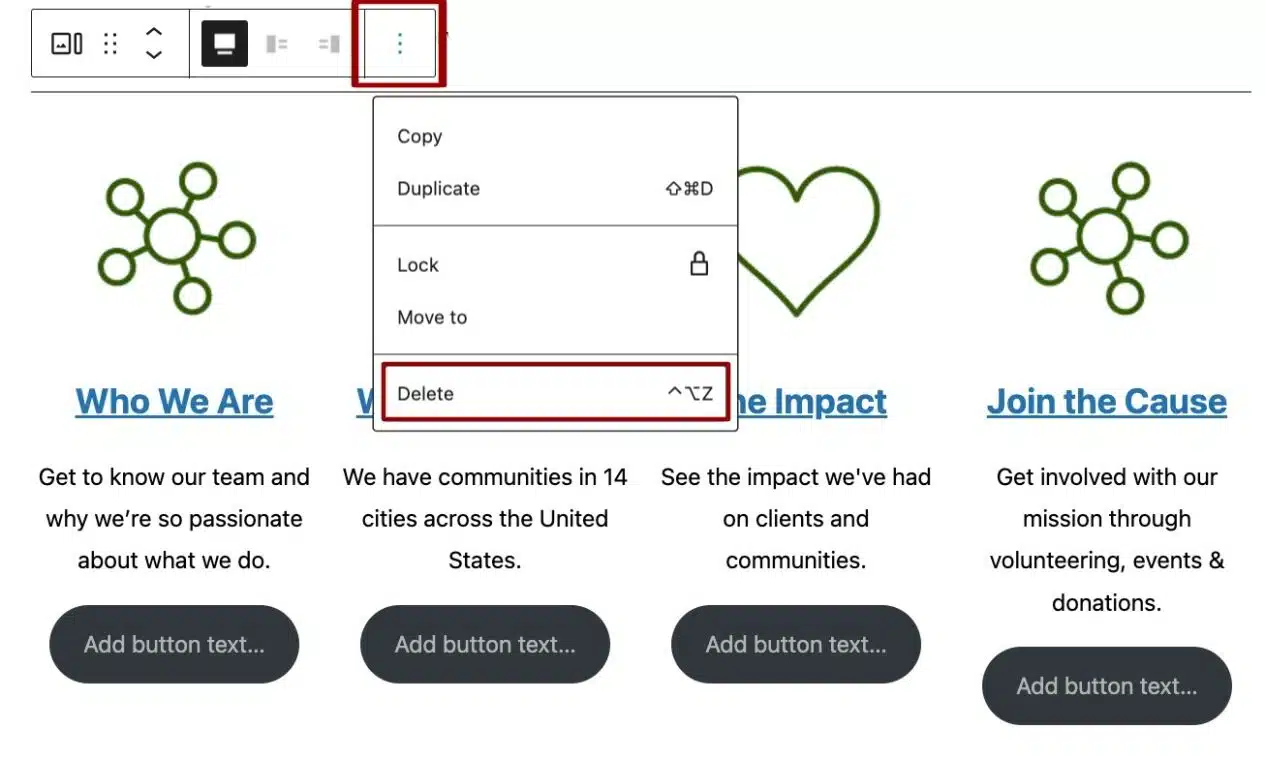
To remove a column from the Image Callouts block:
- Select the column you’d like to remove.
- Click the three vertical dots within the block toolbar for more options.
- Select “Delete”.
- Repeat as necessary.

Update the Text Callouts Block
Text Callouts are perfect for highlighting important information. While this block doesn’t allow images like the Image Callouts block, you can still rely on headings, descriptive text and buttons to share your content. You can move this block, delete it or add it to your homepage multiple times.
You can choose to have as few as one column (spanning full width) or as many as four. The number of columns you choose will impact what alignment options are available. For example, a Text Callouts block with three or more callouts will only allow center alignment.
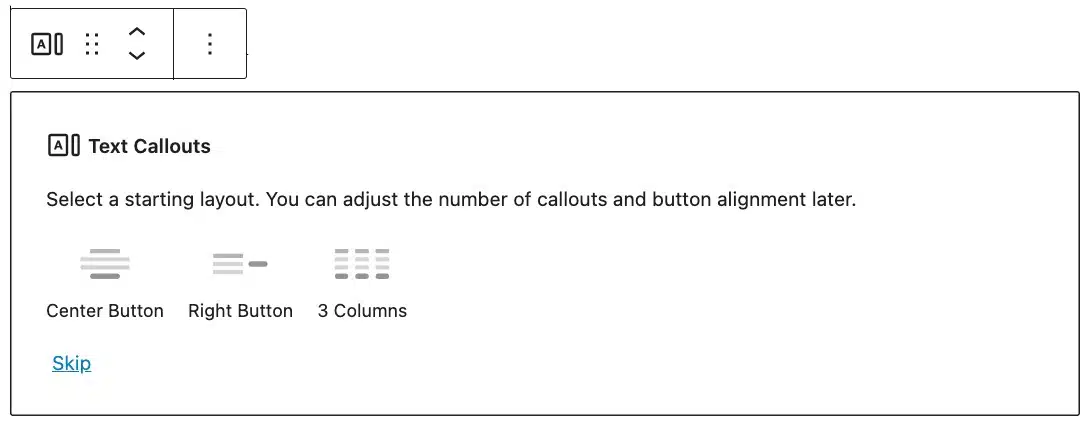
- Use the block inserter to add a Text Callouts block and select a layout that fits your needs.
- You’ll be able to choose from a variety of common layout options. If you don’t see one you’d like, you can click “Skip” at the bottom of the block and customize it later using the block toolbar.
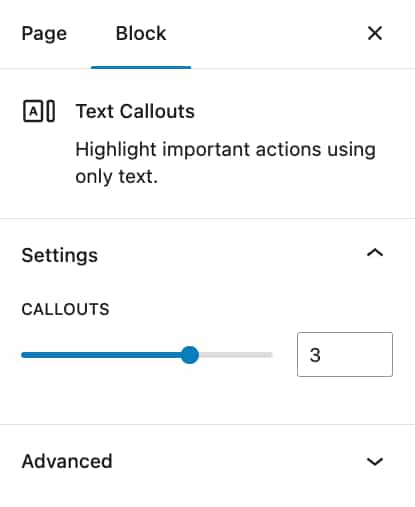
- Make sure the Text Callouts parent block is selected and use the slider under “Callouts” in the block settings to specify the number of columns.
Once you select your layout and the number of columns for this block, you can customize each callout. To customize a callout:
- Add a brief heading.
- Add a short description.
- Customize the button text.
- If you don’t want the button to show up on the front end, just leave it empty.
- Add the URL of the page you’d like to link visitors to.
Update the Video Callout Block
The Video Callout block allows you to highlight a single video and text using three different alignment options: centered, left video and right video. You can move this block, delete it or add it to your homepage multiple times.
You can choose your preferred alignment from the block toolbar.

To customize the Video Callout block:
- Add a brief heading.
- Add a short description.
- Customize the button text.
- If you don’t want the button to show up on the front end, just leave it empty.
- Enter the URL of the YouTube or Vimeo video that you’d like to feature.
Update the Tiles Block
The Tiles block allows you to highlight four key actions using a row of customizable tiles. The number of tiles can’t be changed, but you can move this block, delete it or add it to your homepage multiple times.
To customize the Tiles block:
- Add a heading and brief description to display above the four individual tiles.
- For each tile:
- Select an image that’s 270 pixels wide by 204 pixels tall.
- Add a brief title to display below the tile.
- Enter the URL of the page you’d like the title linked to.
Update the Events Block
This block features your upcoming events. You can move this block or delete it, but it can’t be added to your homepage more than once.
FEATURE AVAILABILITY
The Event System is available for Grow and Amplify plan websites. Change your plan in the Account & Billing section of your website Dashboard.
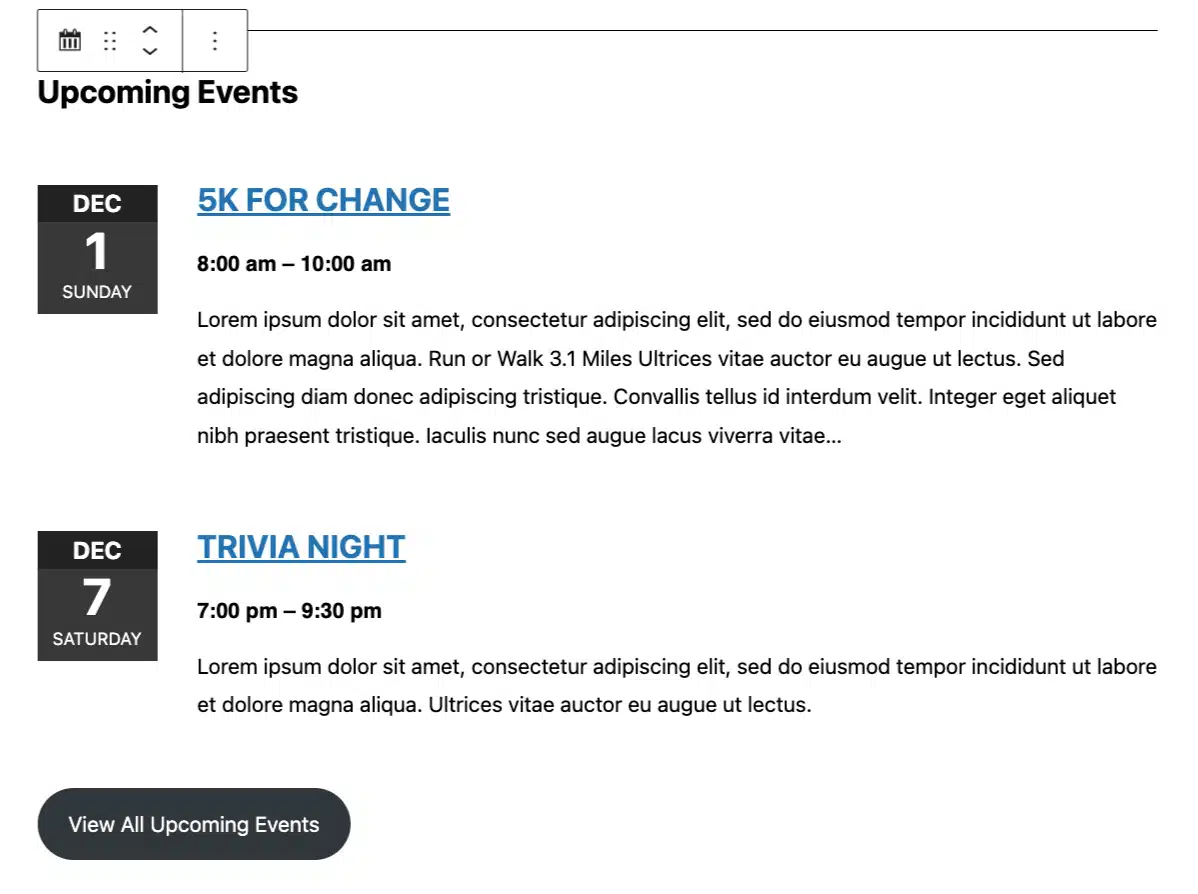
As you publish new events, this block will automatically display the title, date, time and excerpt of your upcoming events on the homepage.
If you don’t have any upcoming events, this block won’t show on the front end of the homepage.
Use the block inserter to add an Events block. To customize this block, you can:
- Edit the heading. This block uses “Upcoming Events” as the heading by default, but you can edit this if desired.
- Edit the button text. This block displays a “View All Upcoming Events” button below the list of events, but you can edit this text if desired. If you don’t want the button to show up on the front end, remove the text completely.
- Add the button link. We recommend linking visitors to your primary events page to see all your upcoming events.
- Specify the number of events. Use the slider under “Number of Events to Display” in the block settings to specify how many events you want to show.

Update the Blog Posts
This block displays your most recent blog posts and you can move it or delete it, but it can’t be added to your homepage more than once.
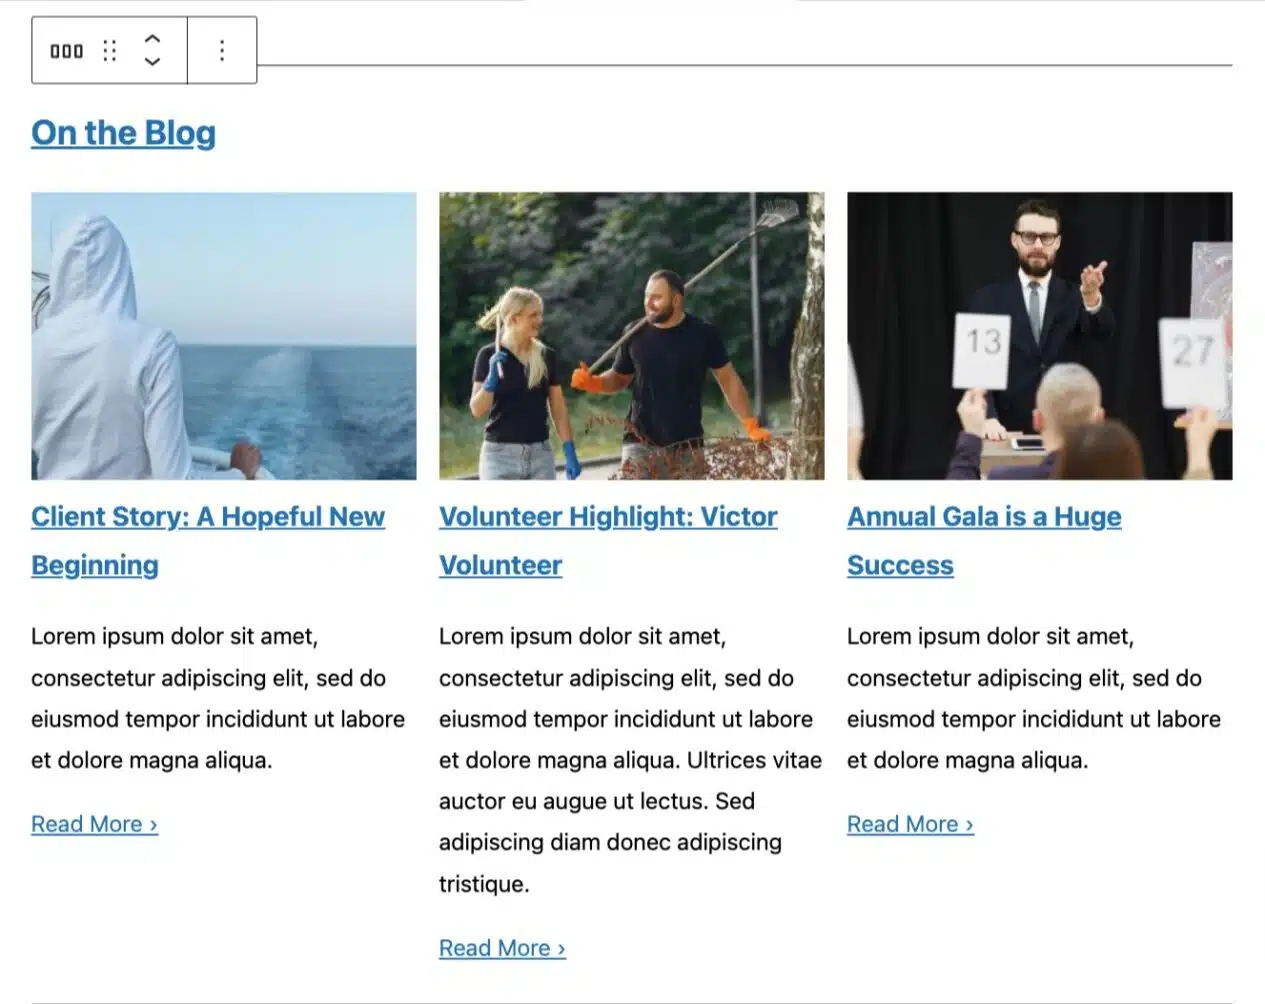
As you publish new posts, this block will automatically update to feature the latest ones.
This block uses “On the Blog” as the heading by default. You can customize this by selecting and editing the text or removing it altogether if desired.
Moving or Deleting Homepage Blocks
It’s easy to customize the various elements of your homepage by reordering or removing blocks.
To move a block, simply select it and use the up and down arrows to move it where you’d like.
Another option to reorder blocks is to use the “Document Overview” button, which is located at the top left of the screen, next to the “Redo” button. There, you’ll see a List View of all the blocks on the page and can rearrange them through drag and drop.
The only block that cannot be moved is the Hero block, as it is locked at the top of the homepage.
Once in a while, you might need to remove a block, which you can do in a few simple steps:
- Select the block you want to remove.
- Click the three vertical dots within the block toolbar to access more options.
- Select “Delete”.
- Repeat as necessary.
Preview
Before publishing your changes, it’s important to preview your homepage to make sure everything looks good.
To do this, click the laptop icon in the top right corner of the editor and select “Preview in a new tab” from the menu. Take a moment to review your edits. If you’re happy with the changes, click the blue “Save” button to save them.

Still Have Questions?
The quickest way to get support is to reach out to us within your website’s admin dashboard. Log into your website and then fill out the Request Help form. You’ll hear back from us within one business day.