Use the steps below to connect a form on your website with Stripe using a feed. Visitors will be charged when they submit the form, and payments will be processed by Stripe.
FEATURE AVAILABILITY
The Form Builder is available for Grow and Amplify plan websites. Change your plan in the Account & Billing section of your website Dashboard.
Helpful Terminology
- The payment processor is the service you use to charge people money online. This provider manages transactions and ensures that the funds end up in your account. The most common providers are Stripe, Authorize.Net and PayPal.
- A feed on a form refers to that form’s connection with a third-party provider. For example, you might set up a feed to charge a visitor through PayPal for the amount they offered to donate. This feed is typically processed each time a visitor submits your form.
- Conditional logic is used to determine the criteria in which a form’s feed is processed. For example, you may have two feeds on a donation form: one that processes a single donation and another that processes a recurring monthly donation. For the feed processing recurring payments, you would set up conditional logic to only process the feed when the donor selects the option to make a monthly gift.
- The “Product” field type used in your form determines what the visitor is paying for and how much a visitor should be charged when they submit. A Product field can have a fixed price, such as for a t-shirt, or it can be a variable price that the visitor sets, such as a donation amount.
- The “Sales” tab provides a convenient way to view specific results and will only appear for forms that accept payments, making tracking and managing payments easier.
Before You Begin
- If you’re new to using Stripe, please reach out to us through the support form in your website’s Dashboard. We’ll help you connect your site to Stripe before attempting to configure a feed for a paid form.
- Be sure your form contains a Stripe field to accept payments.
- Stripe supports various payment methods. To enable additional payment methods in your Stripe account, follow these steps.
If your organization uses a payment processor that isn’t Stripe, learn how to connect to other services.
Setting Up a Stripe Feed
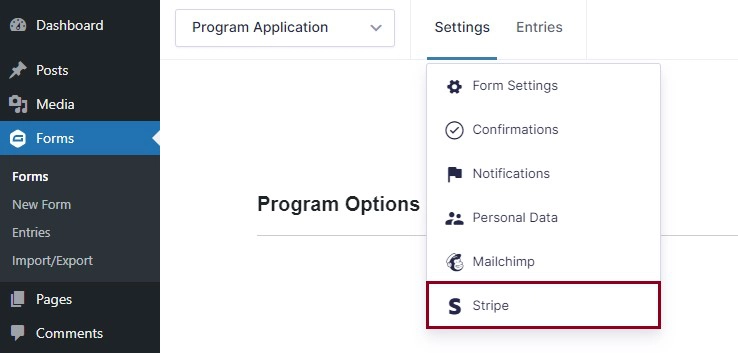
- While editing your paid form, hover over the Settings menu and click “Stripe” in the dropdown.
- Click the Add New button to create a new feed.
- Enter a Name for the feed. You can set this name to something generic such as “Stripe Feed”, or if you end up having multiple feeds that only run under specific circumstances, we’d recommend naming it something more descriptive.
- For example, you may end up with two feeds for a donation form: one to process one-time donations and another to process recurring donations. In that case, we’d recommend naming the feeds “One-Time Donation” and “Monthly Donation” to make sure it’s easy to tell the difference between the two.
- Choose the Transaction Type.
- If you plan to charge the visitor one time, choose “Products and Services” from the dropdown.
- If you plan to charge them on a recurring basis, such as monthly or yearly, choose “Subscription” from the dropdown.
Products & Services Settings
If you choose Products and Services as your transaction type, the next step is to set the Payment Amount you want to charge the submitter.
We almost always recommend “Form Total”. This will combine the prices of all products selected by the individual filling out the form.
Subscription Settings
If you chose Subscription as your transaction type, be sure to adjust the following settings.
- Write a Subscription Name that describes what the submitter will be paying for. For example, you might use “Monthly Donation” or “Yearly Membership”.
- Choose the Recurring Amount you want to charge the submitter. We almost always recommend “Form Total”. This will combine the prices of all products selected by the individual filling out the form.
- Set the Billing Cycle to determine how often the submitter should be charged. For example, to charge them quarterly, set the field to “3 month(s)”.
- Leave the Setup Fee and Trial boxes unchecked. These options are rarely used and don’t require customization very often.
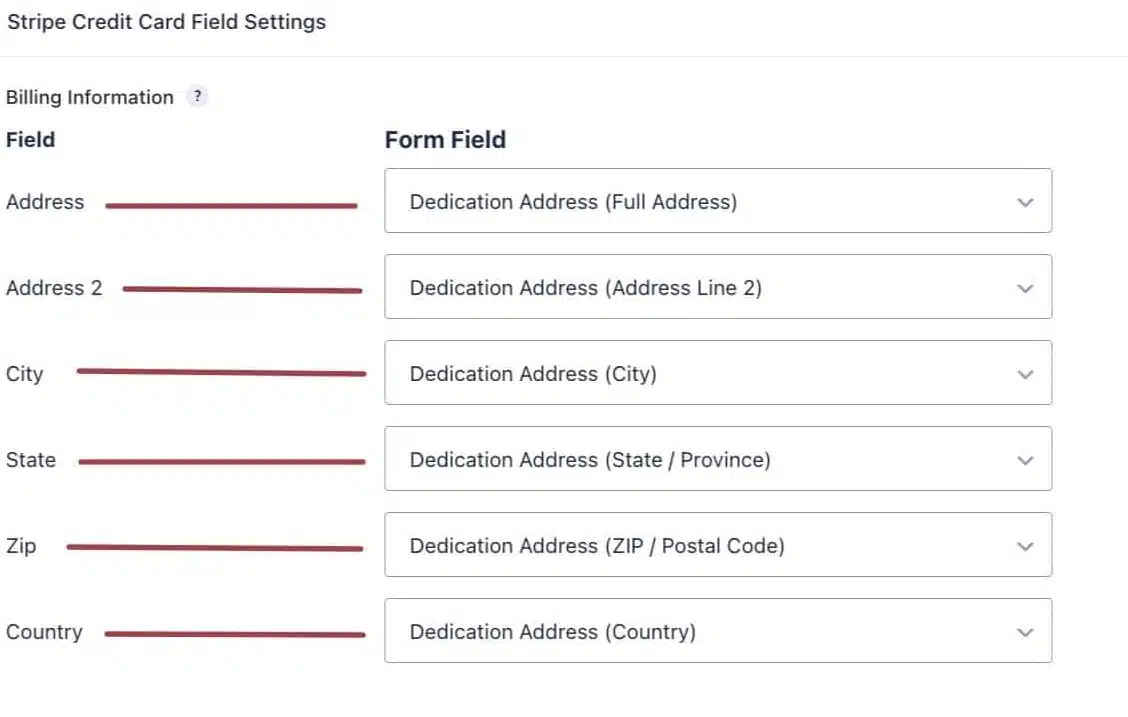
Stripe Credit Card Field Settings
We don’t recommend adding a Billing Address field to your form. Stripe doesn’t require that information to process the payment. Plus, it will make the form shorter and easier for your supporters to complete.
If you choose to ask for a Billing Address, you can fill out the Billing Information fields. Open each “Select an Address Field” dropdown and choose the corresponding field from your form
Other Settings
- For both types of transactions, you’ll see a section for Customer Information.
- For the Email and Name fields, open the “Select a Field” dropdown and choose the corresponding field from your form.
- Leave the Description field set to “Select a Field”.
- Leave the Coupon field, which is only available on Subscription transactions, set to “Select a Field”.
- Be careful to match the fields correctly. In some cases, forms will have two fields with very similar names. For example, a field called “Dedication Email” and one called “Email Address”. Make sure you select the correct one.
- With a Products and Services transaction, you’ll see a Stripe Receipt field where you can choose if you want Stripe to send a receipt to the submitter. We recommend leaving this set to “Do not send receipt” and instead sending a thank you email notification since it can be customized much more than an automated receipt.
About Metadata
You can also set Metadata for your feed.
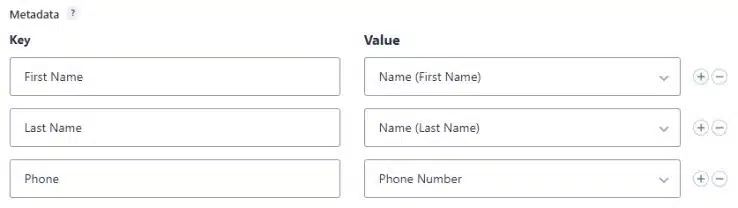
- Enter any Metadata from the form you’d like to pass to Stripe. Metadata is not used by Stripe to process transactions. Its sole purpose is to serve as a reference for your team to see additional purchase information. For a “Products and Services” feed, the metadata will be included within the Payment in Stripe. For a “Subscription” feed, the metadata will be included within the Customer in Stripe.
As an example, you can set up the Metadata fields to populate the submitter’s first name, last name, and phone number in Stripe so you can see it. Here’s an example of the Metadata set up within a Stripe feed:
And this is how that information is displayed within Stripe:

About Conditional Logic
Both types of transactions allow for Conditional Logic, which means the feed will process if certain conditions are met.
To use this option, check the box to enable conditional logic and configure the conditions for the feed.
The example below allows the feed to process only when a submitter chooses “Monthly Donation” for the Donation Frequency field.
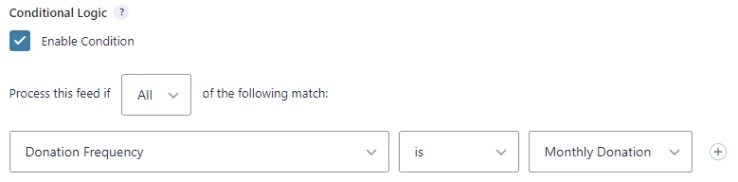
You can add multiple conditions using the plus (+) icon on the far right and choose to process the feed if “All” or “Any” of the conditions are true.
Stripe Account
The Switch Accounts button allows you to specify that the feed should use a different Stripe account than the primary one connected to your website. In most cases, you won’t need to use this setting. If you do, follow these steps.
Finish Your Feed
- Review your settings and click the blue “Save Settings” button at the bottom of the page to save your feed.
- If you need to add another feed to the same form, start over and follow these steps again until all the necessary feeds are created.
- Most importantly, test your form to ensure payments are processed correctly for each feed you’ve created.
A Complete Stripe Feed Example
For reference, we’ve included a screenshot below of a completed Stripe feed. This feed processes only one-time donations on a typical donation form.
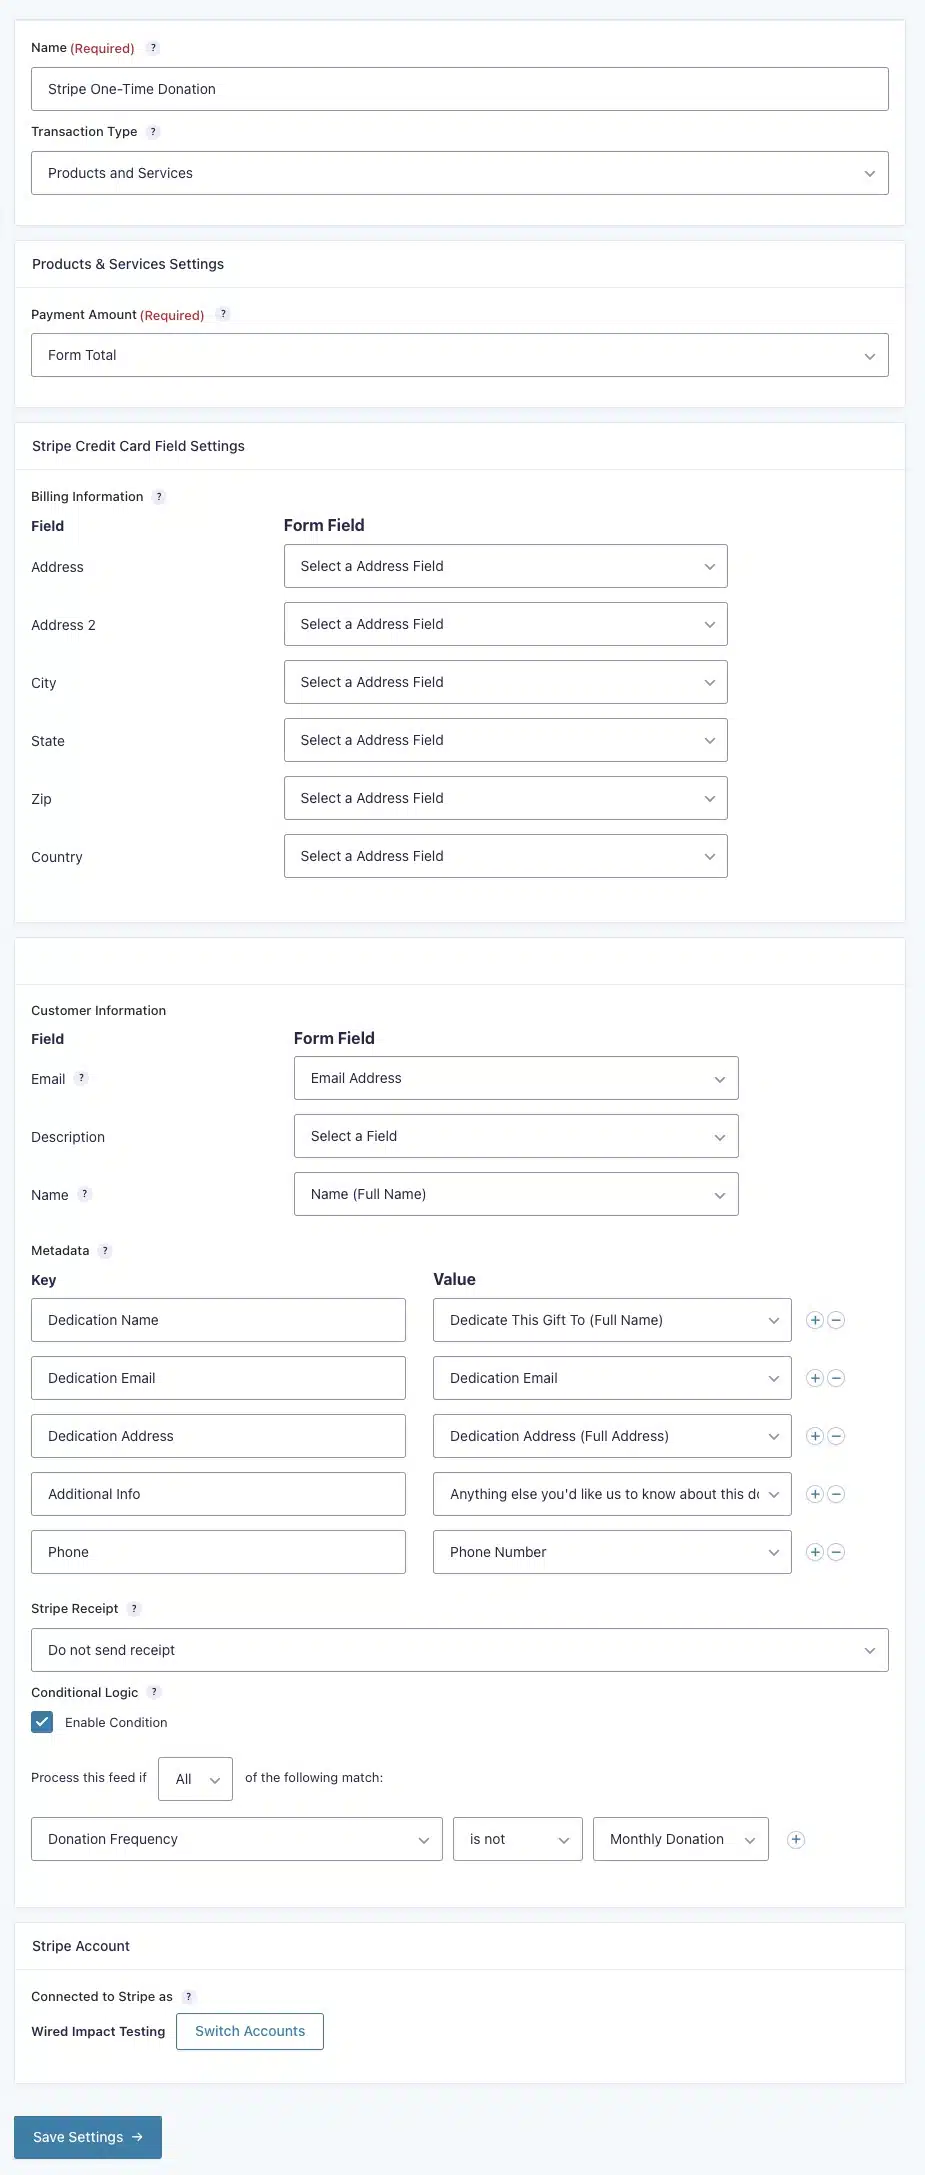
*This form doesn’t include a Billing Address field, which is why the fields in the Billing Information section are not filled in.
Still Have Questions?
The quickest way to get support is to reach out to us within your website’s admin dashboard. Log into your website and then fill out the Request Help form. You’ll hear back from us within one business day.