Your website is mostly made up of pages, so you need to know how to create new ones! Visitors rely on your pages to learn more about your organization and all the good you’re doing. In this article, we’ll show you how to create new pages that are well thought out and customized to fit your needs.
If you’d like additional tips on building out great content, head on over to our Essential Web Page Content for Nonprofits guide.
Helpful Terminology
- The featured image is the main photo associated with the post or page. It displays as the header image at the top of a page.
- The sidebar is an area of a page that is for displaying information that is not part of the main content. The sidebar is usually a vertical column on the right side of the page.
- A page template is used to control the layout of the content and functionality on the page. For example, a page template may or may not include a sidebar area.
- A meta description is a brief summary of a webpage’s content which may be displayed in search results so users know what the page is about.
Where Do I Add a New Page?
There are various ways to create a new page for your website, all of which require you to be logged into your site. The following is the easiest way to add a new page once you’ve logged in:
- When you log in, you’ll be looking at your site’s Dashboard. On the left-hand side, hover over the “Pages” item and click “Add New Page”.

Customizing a New Page
Once you’ve created a new page, you’ll want to build it out by adding content and adjusting any page settings as needed.
Adding content
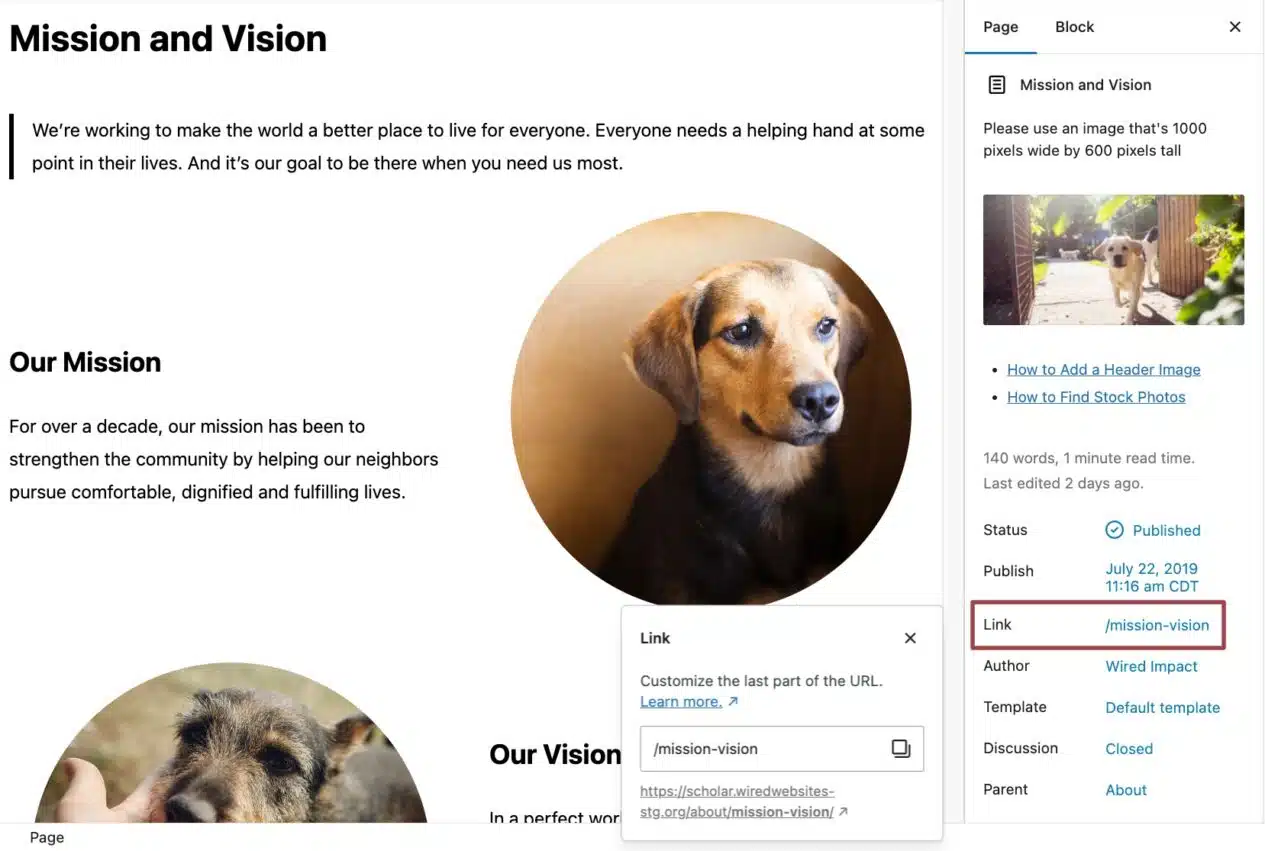
- Make sure your page has a title, which will also be used as its URL.
- In some cases, you may want to remove words like “a”, “the” or “and” from the URL. To update a page’s URL, find the “Link” field on the right-hand side of the editor in the Page settings.
- Write your page content using the block editor. There are two common options:
- The Page Writer will automatically appear on new pages you create. Answer a few quick questions and get a first draft of your page generated by AI.
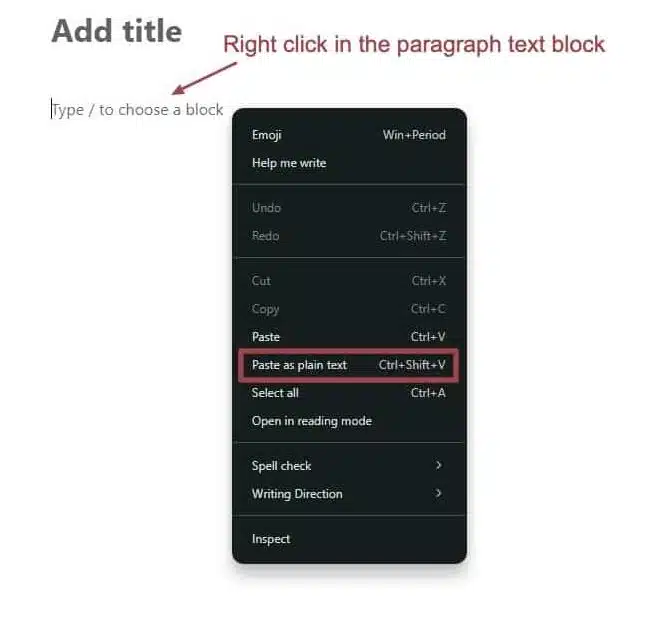
- Copy and paste content from an external source, such as a Microsoft Word document or Google Doc. To avoid formatting issues, right-click and use the “Paste as Plain Text” or “Paste and Match Style” option, depending on your operating system.
- Consider using block patterns as a starting point for entering and formatting content on a new page. Or use the Design Assistant to automatically reformat your content into a professional, engaging page layout with one click.
Adjusting page settings
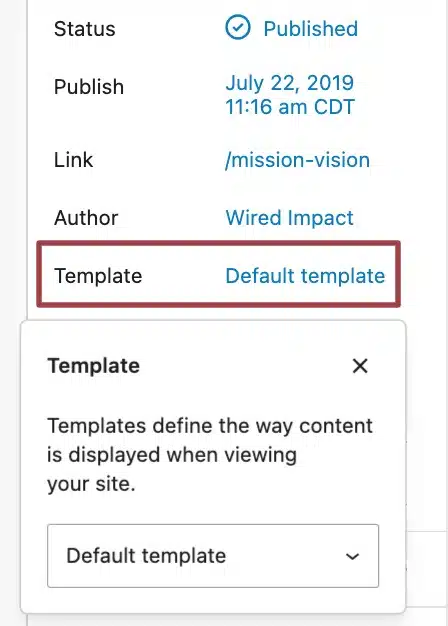
- Each new page uses the default template for your theme. You can choose between a template where the content spans the full width of the page or one that shows the sidebar navigation and widgets. On the right-hand side of the editor in the Page settings, find the “Template” field and select your preferred layout.
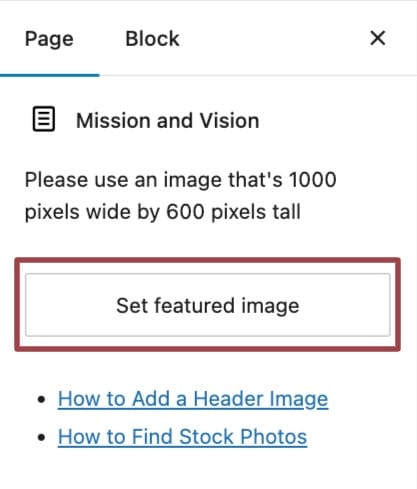
- If you want the page to have a header image, find the “Set featured image” button at the top of the right-hand side of the editor in the Page settings. Click that button to upload an image or select one from your media library.
- It’s best to crop this image to the correct size before uploading it to your site. The recommended dimensions are noted directly above the “Set featured image” button.
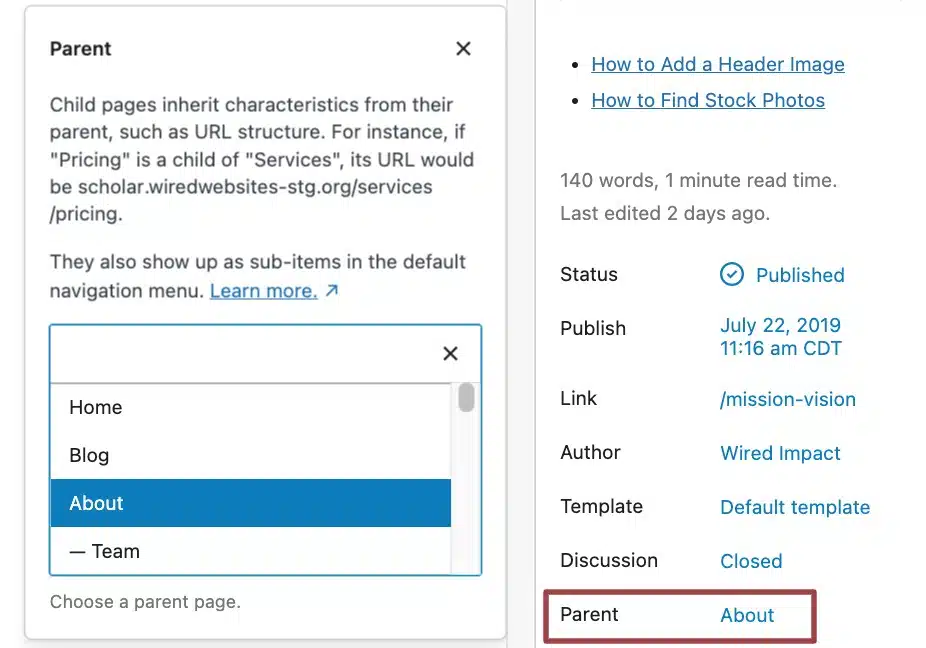
- Organize your site’s structure by making your new page a subpage of another. This is helpful for pages that are related, like a “Mission and Vision” page that belongs under “About Us.” Find the “Parent” field in the Page settings on the right-hand side of the editor.
- Choose a different parent page using the dropdown menu.
- If you don’t set one, a parent page will be suggested for you during the publishing step.
- Finally, add a meta description to summarize the page content. Go to the Yoast SEO section below your content and edit the “Meta Description” field.
- For more information about meta descriptions and tips on writing them, take a look at our article about meta description best practices.
Publishing a Page
Once you’ve added your content, adjusted your page settings, and added a meta description, you can:
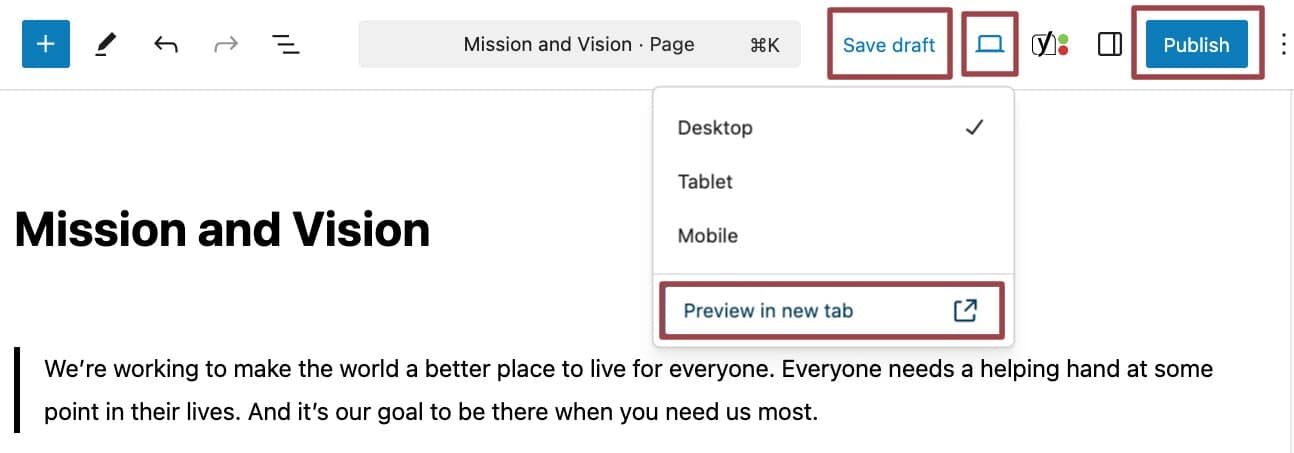
- Preview: See what your page looks like by clicking the laptop icon. We recommend the “Preview in new tab” option to get the most accurate preview of your new page.
- Save draft: Save your work if you’re not ready to share it with visitors yet. See the section below for how to share a draft for feedback.
- Publish: Click the blue “Publish” button to review your settings and make the page live.
All of these options are located in the top right-hand corner of the editor.
Getting feedback on a draft
If you’d like to get feedback on a page before publishing it, you can share a preview link with your team.
- Click “Save draft” in the top right of the page editor.
- Click the laptop icon and select the “Preview in new tab” option.
- Copy the URL of the preview page from your browser’s address bar and share it.
Keep in mind that anyone accessing the link will need to have a user account and be logged in to view the draft. Draft pages aren’t visible to the public.
Reviewing your publish settings
When you click “Publish” on a new page, you will have a chance to confirm your settings before it goes live. In this panel, you can:
- Review the parent page. If you didn’t already set one, a parent page will be suggested based on the content of your new page. You can always choose a different one from the dropdown menu.
- Choose whether to show your new page in the primary menu.
- View a live preview showing where your new page will appear in your website navigation.
To save these settings and publish your page, click the blue “Publish” button at the top of the panel again.
Unpublishing a Page
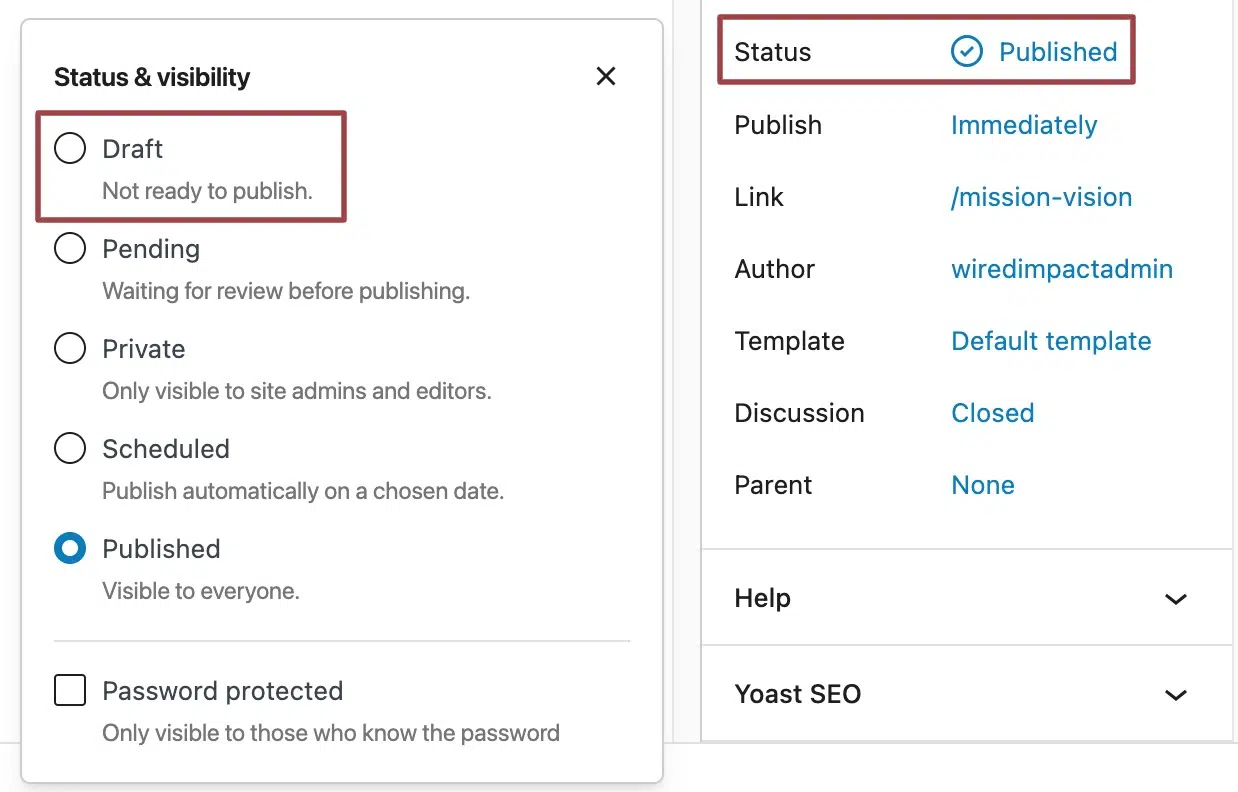
If a page is already live but needs more editing, you can unpublish it by changing its status. In the page editor, click the Status field, and switch the status & visibility from Published to Draft. Then click Save to update the page. The page will no longer be public and will be saved as a draft.
Still Have Questions?
The quickest way to get support is to reach out to us within your website’s admin dashboard. Log into your website and then fill out the Request Help form. You’ll hear back from us within one business day.